Showing posts with label Basic of cooking. Show all posts
Showing posts with label Basic of cooking. Show all posts
Wednesday, 17 September 2014
Homemade Curd / Homemade plain yogurt / How to make Curd / Yogurt / Dahi at home .... Kitchen Basics
Yogurt / Curd is one of the mandatory item is lunch menu of Indians and its almost made in every house here. Making this is such an easy one and healthy too with no preservatives.


Milk-1/2 litre
Starter / Curd / Plain yogurt - 2 tbsp
Setting time required : 6 hours or more depending on the weather.
To prepare Homemade Curd / Homemade Yogurt :
1. Boil the milk well and Cool till it is only slightly warm ( you must be able to comfortably insert your finger in it and stay like that for 15 seconds ). DO NOT USE HOT MILK.
2. Transfer the Curd / Plain Yogurt into the bowl in which you want to set the Curd / Yogurt and pour the warm milk over and mix well. Close the lid tightly and keep to set in a warm place for about 6-8 hrs or overnight.
3. If the Curd / Yogurt is still stringy or runny, keep for some more time until it is perfectly set . That's it your curd is set. Use this as the starter Yogurt for the next batch.
4. U can use this Curd / Yogurt to make varieties of Raitas, Curd rice / Daddojanam, Masala Lassis, Sweet lassis, for curries preparation to give mild taste, for Biryanis and Bath preparations and even u can just mix Curd / Yogurt with plain rice and have it with favorite Pickles and so on....as per ur wish and place refrigerate the remaining. In summer the curd set faster and in winter it may take long time.
Tips / Notes :
- Take care not to move / disturb the bowl of curd at the setting period.
- The curd taste and quality depends on milk and Starter / Curd / Plain yogurt brand and type, temperature of the room and the milk, the amount of starter curd and setting time affect the process of curd making.
- So, when you fail to get that perfect bowl of curd, don't let that discourage you. Change in any one or more of the above factors might do the trick and you will be rewarded.
- The best option to set the yogurt in cold country is to leave the bowl of curd covered with a plate in the oven with the light turned on. Do not turn on the oven itself. The heat from the light is enough to give it that extra push.
FAQ’s about Yogurt / Curd :
1. Why did my curd not set properly?
Your milk might have been too hot or cold at the time of adding curd/culture.
Your quantity of curd/culture was not enough.
2. Why is my curd half-set (half of it is curd and the other half is milk)?
Once you add the curd, you should stir well such that curd and milk are blended well. Curd should mix with the milk uniformly.
3. Can I use sour curd as a culture instead of fresh one?
Always use fresh curd. Whenever you make a batch of curd, reserve a teaspoon of curd for the next batch. You can either freeze or refrigerate the culture. Before going to India myself put a cup of curd in the freezer. Once come back, i will make a new batch of curd with the frozen culture. If you are using the frozen culture, let it come to the room temperature, and then add it to the lukewarm milk. If you use sour curd, your new batch of curd will turn sour quickly.
4. Even after 5 to 6 hours, my curd has not yet set, what should I do?
Place the curd in a vessel of hot water and leave it aside for another 1.5 to 2 hours. If the curd does not set, then somewhere something has gone wrong. Do not worry. You will get it by practice and experience.
5. My curd is little watery. What should I do?
Try refrigerating it for 2-3 hours.
6. I live in a cold place. I see my curd is taking a long time to set up.
For a cup of milk, instead of adding 2 teaspoons of curd, add 3.5 teaspoons of curd. Also place the curd in a vessel of hot water and leave it aside for it to set. You can also preheat the oven for just 2 minutes at 180C. Switch off the oven. Keep the oven lights on and place the curd container inside the oven for 7 hours or let it stay overnight.
7. By mistake, I allowed the milk to cool down completely. What should I do now?
Its okay. Just heat the milk up and when it is lukewarm, add the curd culture.
8. When I boil milk, the bottom of my pan gets burnt and the milk has burnt flavor?
Keep stirring the milk on and off. or else use a non-stick pan.
9. Can I use the same container that I boiled milk to set up curd?
Do not make curd in the same container that you boiled milk. Set the curd in a different container.
10. Can I remove the cream that is formed on the milk?
It is your choice. With the cream, you will get a thick and creamy curd.
Health Benefits of Yogurt / Curd :
1. Yogurt comes from milk. So yogurt eaters will also get a dose of animal protein (about 9 grams per 6-ounce serving), plus several other nutrients found in dairy foods, like calcium, vitamin B-2, B-12, potassium, and magnesium.
2. Yogurt May Reduce the Risk of High Blood Pressure
3. Yogurt With Active Cultures May Discourage Vaginal Infections
4. Yogurt May Help You Feel Fuller
So try this recipe and write back to us…We love to hear from you.

Get this Related Posts Widget


Wednesday, 3 September 2014
About Idli_Dosa Batter .... Kitchen Basics
In my home Idli_Dosa batter is made once a week and Idli is made immediately after the first round of fermenting. Idlis only made an appearance the day after the batter was ground. From day two onwards, it will be dosa time - soft, fluffy and slight thick for small Kids, roasted and crisp for all of us. This would go on for about 4 days until the next round of batter was made. Sometime Dosa is prepared for dinner too with different kinds of chutneys and side dishes.


NOTES and FAQs:
1. Dosa is white even after it
is cooked. Why?
Couple of reasons are - Batter
is too cold - just bring it to room temperature before making. Cold batter
would yield hard idlis and rubbery dosas. or, the proportion of rice in Batter
is too high. Adjust proportions to make the Batter. Adding too much dal in
batter will contribute to dosas that are too red in colour. Adjust accordingly
while grinding next batch.
2. Dosa batter grainy. Why?
To get smooth consistency
Batter remember to soak the rice and dal for enough time and grind it to a very
smooth consistency before fermenting. An Indian mixie is good to make small
quantities. A wet grinder is obviously the best option for making Idli_Dosa
batter at home.
3.Why does Dosa stick to the
pan?
·
Use a well-greased pan - if your tawa is new, you need to season
it to make sure it's ready to make dosas. Using a non stick pan works but , the
dosas turn out bit dry compared to tawa. Use a pre-seasoned iron tawa and it
will be fine.
·
Also, Keep one tawa exclusively for dosa, never use a dosa tawa to
make rotis.
·
Grease Dosa pan properly, by using anything you can dip into oil -
like a piece of onion, potato, a wooden spoon, etc. Dip into the oil and rub
generously all over the tawa. So always grease tawa fully and don't pour the
oil before spreading dosa.
·
Batter is too old and sour. That's another reason why it would
stick to the pan.
4. How to ferment Idli_Dosa
batter in a cold place?
The best option to ferment in
cold country is to leave the batter in a bowl covered with a plate in the oven
with the light turned on. Do not turn on the oven itself. The heat from the
light is enough to give it that extra push. It also helps if you mix the batter
for 2-3 mins with your hand before keeping the Batter for fermentation.
5. How much salt need to add to
the dosa batter?
I actually don't measure salt.
Add required amount of salt and you can taste the batter and see if it seems
salty enough. Adding enough salt is important for right amount of fermentation.
6. Why are my Idlis hard?
Because of two reasons. Cold
batter or too less urad dhal. The batter should always be in room temperature
before making Idlis or Dosas. The urad dhal should be ground to fluffy
consistency to make soft idlis. If the ground urad dhal batter is tight it would
lead to hard idlis. Having said that, do not add water to make it loose. It
doesn't work that way. Adding water little by little while grinding gives the
fluffy cloud like consistency.
7. Why are my dosas not crispy/
Why are my dosas are white?
There are two known reasons for
this. First, the batter should have fermented well and slightly sour (compared
to idly) for crisp golden dosas. Second, the batter should be in room
temperature for golden dosas.
8. Dosas are very sour. Why?
Batter is over-fermented or too old. If you have some Ragi flour or wheat flour, add it to the old batter and make Instant Ragi Dosas or semi-wheat dosas. Another trick is to add equal amounts of fresh batter and make dosas.
9. How do I use store-bought Idli_Dosa batter?
The quality of store-bought batter really varies a lot. With different brands we usually have different experiences. One thing that's common is, although they all claim to also make good idlis, they don't. So don't waste your time making idlis with store-bought batter. To prepare Dosas, add some water to bring it to the right consistency. Use up all batter within 3 days, they don't last as much as homemade batter.
10. What about variations to
the Idli_dosa batter - like adding poha, Ragi, Saagu, cooked rice, quinoa,
brown rice, etc?
U can find different variations
of Dosa and Idlies in my blog for recipes plz click the following links.
For Dosa variations
For Idli variations http://savispassions.blogspot.sg/search/label/Idli
Get this Related Posts Widget
Sunday, 31 August 2014
How to Preserve Green Chillies Fresh more than a month .... Kitchen Basics
Sabjiwala In India depending on how often you bought from him or how well you knew him, for less price would hand you some green chillies, kadipatta, cilantro, a small piece of ginger and if you haggled enough, he might throw in a lemon too. Some time we get more cilantro or kadipatta, in addition to a lemon, as a reward of loyalty if buy on a daily basis.
No Sabjiwala in the Indian grocery store or Mustaffa. Just open bins with produce or packed in plastic covers. No mix and match either. I don't shop every week either. So my green chillies need to last between 4 to 5 weeks. I don't like to freeze green chillies as I feel they lose their flavor. I prefer the fresh green chillis.


Ingredients required to Store Green chillies :
Fresh Green Chillies
Paper towel
Plastic container / ziploc cover
To Store Green chillies :
- Snap off the stem and discard it. At this stage discard the brownish or spoiled green chillies too.
- Take a plastic container place paper towel and put green chillies and cover with one more paper towel before closing the lid (to avoid getting more moisture) then refrigerate them. Or wrap them in paper towels, put them in a ziploc cover and refrigerate them.
- Green chillis are ready to stay fresh for more than a month. Mean while in between check for any browning and spoilage to discard but I no longer waste as many chillies as I did earlier.
Tips / Notes:
- Green chillies are known to have bacteria around the stem. This leads to early spoilage. So as soon as u bring home, snap off and discard the stems.
- Make sure to wash green chillies before using them for cooking.
Health Benefits of Green Chillies :
- Green chilies are very rich in Vitamin C, which plays an important role in absorption of other vitamins in the body.
- They are strong anti-oxidants and prevent against free radicals.
- Green chilies are rich in dietary fiber which is important for a healthy digestive system.
- They are rich in Vitamin A, which in turn is very good for your eyes and skin.
- According to some studies, green chilies are responsible of reduction in blood sugar levels and can be a boon to diabetics.
- Some studies suggest that Capsaicin, a chemical found in green chilies helps fight against prostrate cancer.
- Green chilies being good anti-oxidants, are good for skin as they help fight against acne and pimples.
- Capsaicin can be an anti-depressant as it releases endorphins ( hormones for good mood ) into the brain.
- Green chilies help prevent lung cancer according to some researches, but there is no solid evidence of it yet.
- The anti-bacterial property of green chilies help keep our body worm free.
So try this Useful Tips and write back to us…We love to hear from you.
Get this Related Posts Widget
Friday, 22 August 2014
Home made Lemon Pickle (Nimbu ka Achar) .... Kitchen Basics
I have started making pickles after watching Maaoori vanta program in maa TV few years back. Because most of the time MIL and mom’s pickle get finish off soon and also really hated the store bought one. Before that, I thought it is difficult for me to proceed because of its lengthy process. Thanks to maa TV for telecasting such a wonderful recipes with easy steps. I noted down the recipe when the program telecast-ed and start to do by my own by adjusting the spice and salt level. When I distributed these pickles to my friends they admire the taste and started to ask recipes. For all my pickle lovers, here comes the recipe.


15 to 20 no’s Lemons (medium size)
½ cup Salt (approx. 5 to 6 table spoons)
½ cup Red chilli powder
½ cup Oil (til or ground nut oil would be good)
½ tbsp. Turmeric Powder
1 tbsp. Methi powder(fenugreek)
½ tsp Hing (asafoetida)
4 to 5 no’s Red
1 tbsp. Mustard seeds
To prepare Lemon Pickle (Nimbu ka Achar):
1. Wash the lemon, pat and dry them nicely using a kitchen towel. Cut lemons into medium size pieces.
2. Remove the seeds using the knife edge otherwise the pickle tastes bitter.
3. In a mixing bowl add Lemon pieces, ½ cup salt and ½ tsp Turmeric Powder mix well so that each lemon slice gets coated with salt and turmeric. Keep it in a dry bottle or any dry glass Jar for 3 days. (shake the jar well every day)
2. Take a frying pan. Heat 1\2 cup of oil. Add Mustard seeds, Red chillies and Hing (asafoetida) to it. Let the Mustard seeds splutter. Remove it from the flame and let it cool completely.
3. Take large bowl, put the marinated lemon pieces into it. Add ½ cup red chilli powder, 1 table spoon Methi powder (fenugreek) to it and Mix well.
4. Add the cooled thadka to the Lemon Pickle (Nimbu ka Achar) and mix well. Store it in air tight jar. Lemon Pickle (Nimbu ka Achar) in Andhra style is ready. Serve it with Curd rice.
5. This can stay more than 4 months if u keep it outside. You can store this in refrigerator too for longer life (more than 6 months).
Tips / Notes :
- U can adjust the Salt and chilli powder levels as per your requirement.
- U can add Green chillies instead of red chilli powder.
- Make sure that the Mixing bowl and spoon you are using should be dry.
- Always use dry Bottle to store the pickle.
- Whenever you are taking the pickle for serving just mix it from top to bottom and then take the required quantity of pickle by doing this more oil will not come to the spoon.
Health Benefits of Lemon:
The health benefits of lemon include its use as a treatment of throat infections, indigestion, constipation, dental problems, and fever, internal bleeding, rheumatism, burns, obesity, respiratory disorders, cholera and high blood pressure, while it also benefits hair and skin care,. Known for its therapeutic property since generations, lemon helps to strengthen your immune system, cleanse your stomach, and it is considered a blood purifier.
Lemon juice, especially, has several health benefits associated with it. It is well known as a useful treatment for kidney stones, reducing strokes and lowering body temperature. As a refreshing drink, lemonade helps you to stay calm and cool.
So try this recipe and write back to us…We love to hear from you.
Get this Related Posts Widget
Saturday, 9 August 2014
Versatile Homemade Garam Masala Powder .... Kitchen Basics
The Garam Masala Powder traditionally is a mixture of cinnamon, cardamom, Shahjeera, coriander seeds, cloves, star anise and nutmeg. Homemade masala is simply all the ingredients listed above, toasted in a pan on stove top and then finely blended to a powder. Some benefits of Garam Masala is that it slows down the aging process and helps promote weight loss. Yes, that’s right, eating foods with Garam Masala can actually help shed some pounds. This is my version of Garam Masal Powder, trust me adding this to Biryani, Biranji, Vegetable Bath, Veg and Non-veg curries gives fabulous aroma and taste too.


Ingredients for Versatile Homemade Garam Masala Powder:
3 table spoons Coriander seeds
2 table spoons Shahjeera
2 table spoons Cloves
2 table spoons Cinnamon sticks
25 to 30 small Green cardamoms
1 ½ Star Anise
To prepare Versatile Homemade Garam Masala Powder:
1. Heat a heavy skillet on a medium flame and gently roast all the above ingredients dry (without oil) till they turn a few shades darker. Stir occasionally. Do not be tempted to speed up the process by turning up the heat as the spices will burn on the outside and remain raw on the inside.
2. When the spices are roasted turn of the flame and allow them to cool. Grind them all together, to a fine powder in a clean, dry mixer grinder or coffee grinder.
3. Place this powder in an airtight container, and store in a cool, dry place it will stay good for 3-4 months.
4. You can use this Garam Masala Powder for Veg as well as Non veg curries too...........
Tips / Notes :
- To take care of mixer grinder blade, break the cinnamon and cardamom in small fragments and then grind.
- Transfer the powdert in a flat dish for 1/2 hr. So heat generated while grinding is released, if you will put it in an air tight jar immediately it will spoil.
Health Benefits :
Cinnamon
An anti-microbial as well as anti-inflammatory. It’s high in calcium and fiber and helps control blood sugar by helping to increase insulin production while lowering blood sugar levels.
Coriander
An ingredient used to control blood sugar levels and to lower cholesterol. It helps stimulate digestion.
Cardamom
An anti-bacterial, anti-fungal and anti-carcinogenic. It helps to flush out toxins from the body, relieves heart burn, reduces the formation of blood clots, lowers blood pressure, increases blood circulation, relieves gas, and soothes upset stomachs.
Cloves
Contain a purifying property that helps support the immune system. Relieves tooth aches, boosts the metabolism, removes toxins from the blood stream, helps prevent the formation of blood clots and regulates blood sugar levels. You might not guess, but cloves are higher than any other food in antioxidant content. They provide an excellent source of calcium, omega 3, and vitamin K.
So try this Spice powder and write back to us…We love to hear from you.
Get this Related Posts Widget
Friday, 18 July 2014
Idli - Dosa Batter .... Kitchen Basics
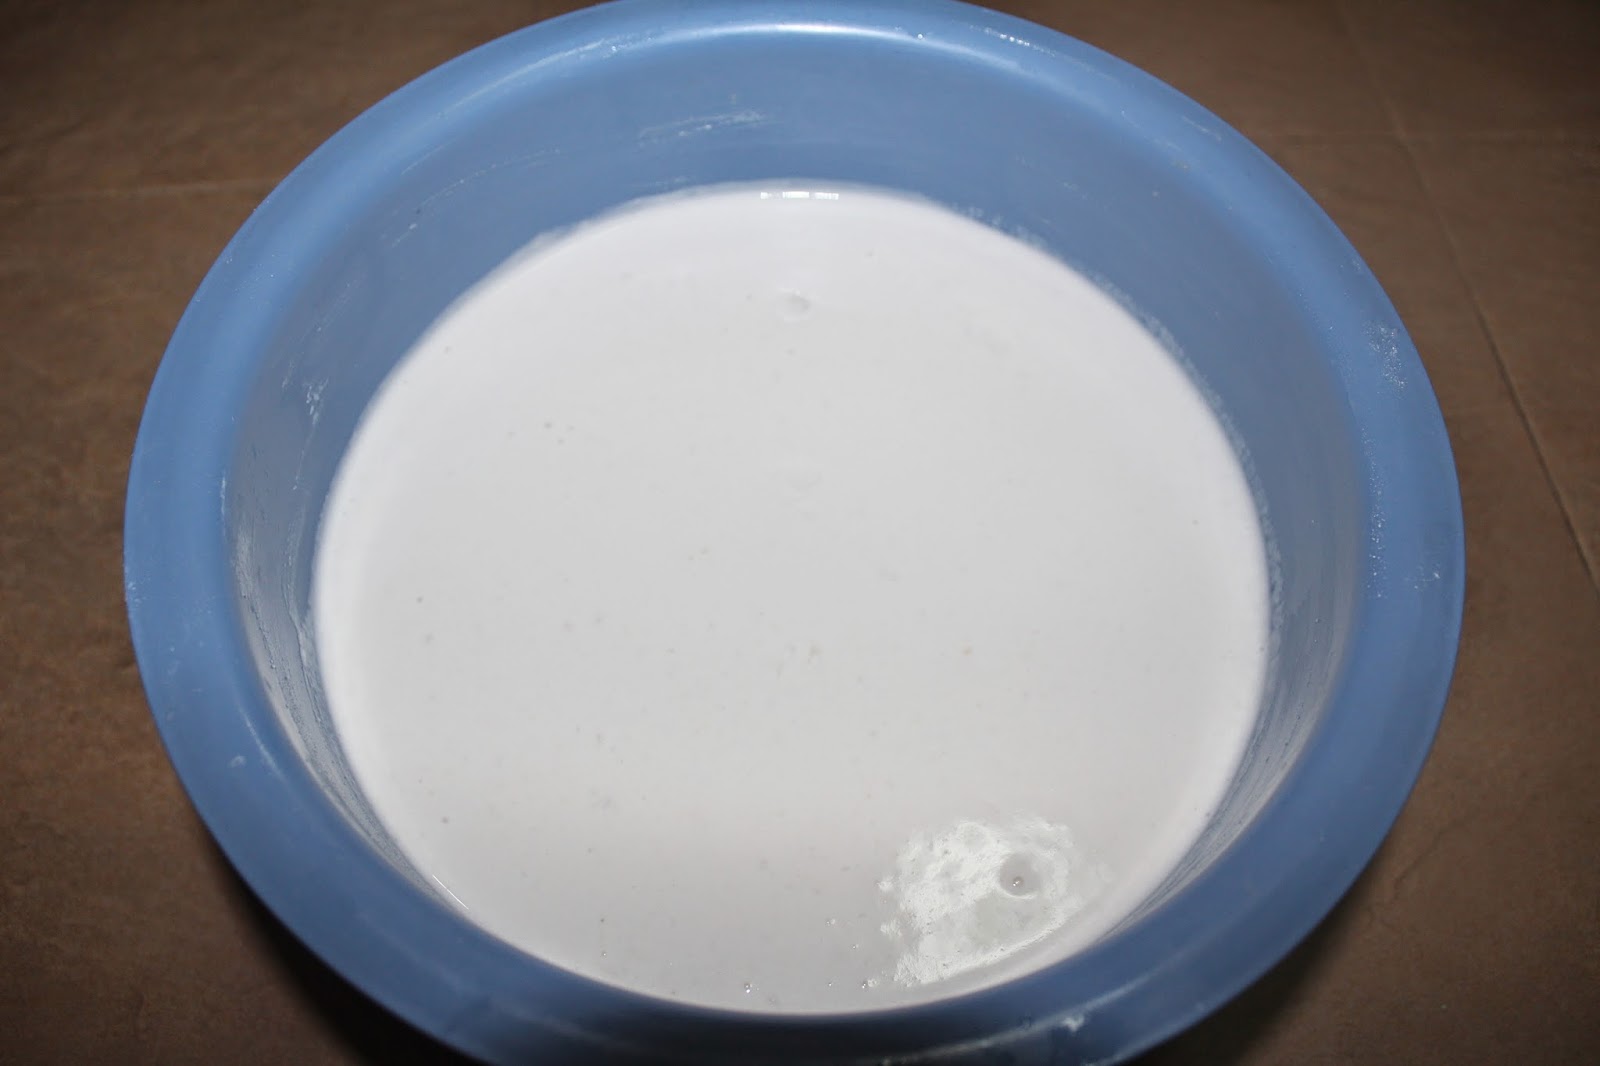
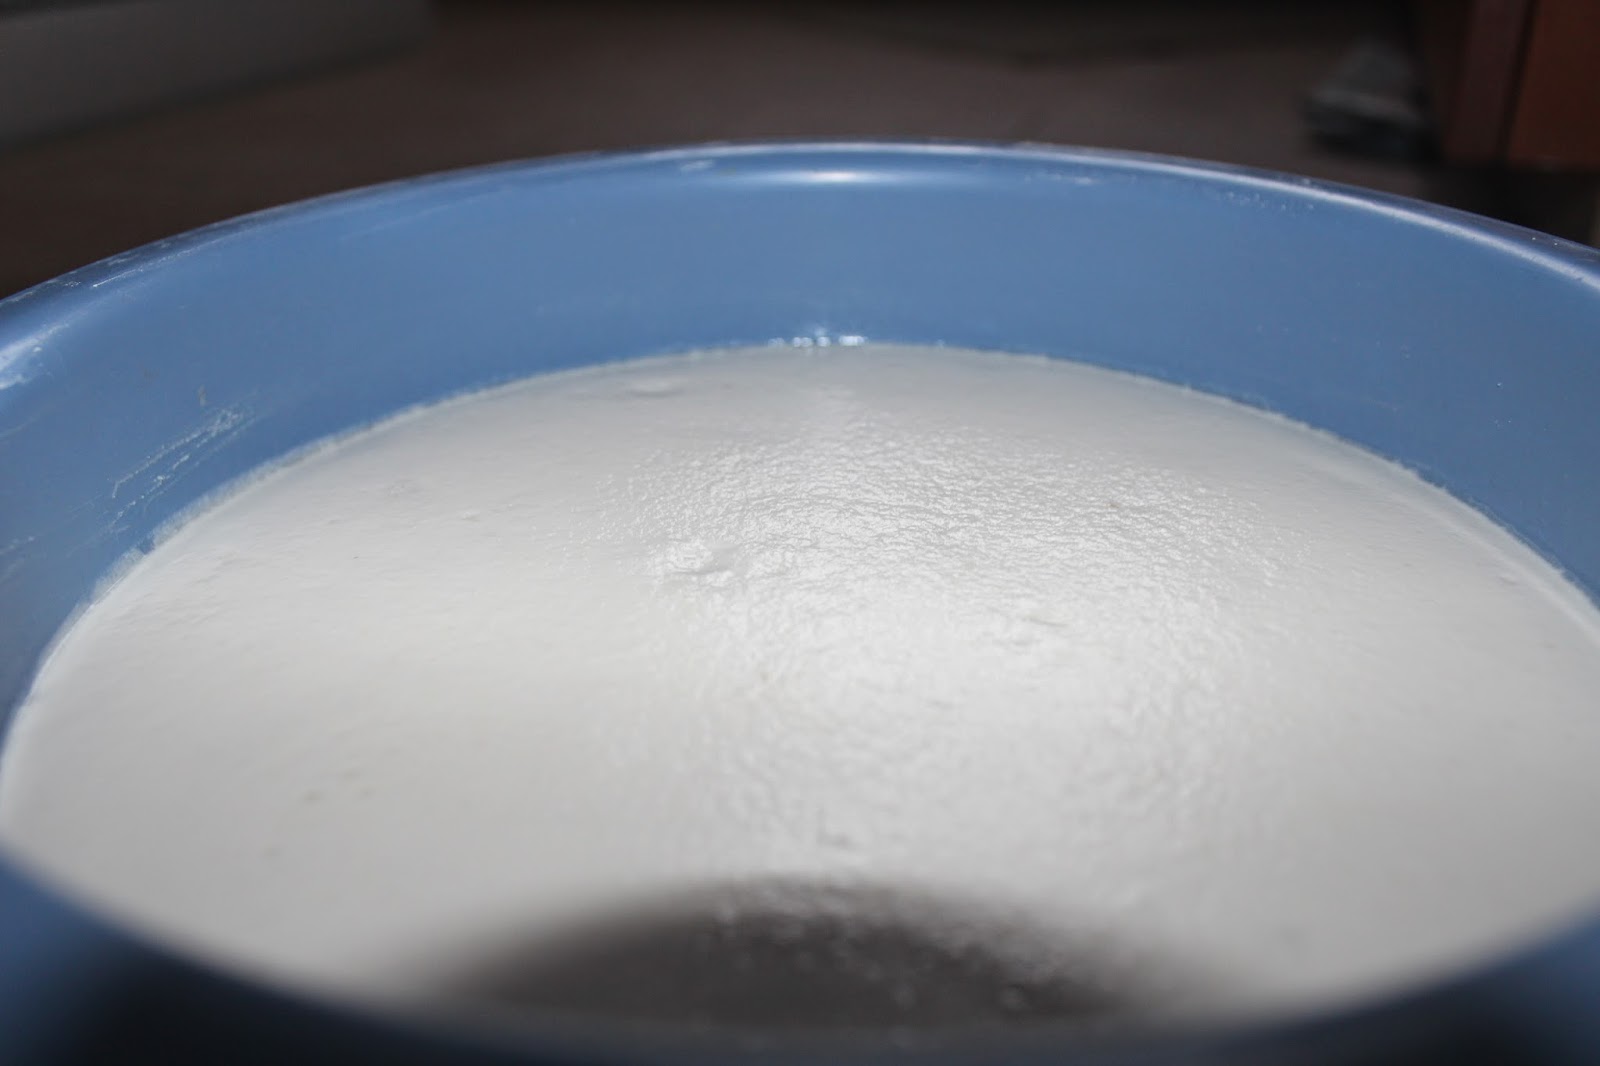
Well Idli – Dosa batter is something that comes in handy on busy days. You can prepare batter for some 3-4 days and you are well in a meal within 10 mins. To prepare this you have to plan it well because you need almost a whole day for soaking and a whole night for fermenting. But trust me once u make this batter your life will become more easier for next 3 to 4 days to prepare breakfast or dinner.



Ingredients for Idli - Dosa Batter :
2 cup Idli Rice
2 cup normal rice
1 cup whole black gram (urad dal, skinned)
½ cup Beaten Rice / Poha
½ cup sago/sabudana
2 tsp Fenugreek Seeds
Salt as per Taste
Water to grind the batter
To prepare Idli - Dosa Batter :
1. Soak the Black gram / udad dal and Fenugreek seeds together in a bow and the rice separately in another bowl for at least 4 hours.
2. Soak the Beaten Rice / Poha and sago / sabudana together in a bowl for just ½hr before grinding.
3. You can either use Mixie or wet grinder to grind the Batter. I used wet grinder for making it.
4. First grind Black gram / udad dal and Fenugreek seeds mixture by adding required amount of water by checking frequently start with a glass of water. It takes 15 to 20 min to grind the udad dal.
5. Switch off the wet grinder add Rice, Beaten Rice / Poha and sago/sabudana together to dal batter ad start grinding by adding required amount of water by checking frequently. When the rice is almost grind ed transfer it to a big container.
6. Set the batter to ferment overnight. Mix the batter well and take out the required amount of batter and add salt to it and mix well to prepare Idli or Dosa. Keep the remaining batter in the refrigerator. When ever need to use the refrigerated batter add salt to it and make Idli or Dosa by using the same.
Tips / Notes:
- For entire Batter u can add salt before fermentation. But I prefer to add salt before using the batter to avoid further fast fermentation process. (when u keep in the fridge it gets forment too)
- U can grind dals and rice separately. But I prefer to grind together.
- If more Fenugreek seeds are added batter color won’t be white.
- First day use this batter to prepare Idli.
- From second day prepare dosa by adding required amount of water.
- If you are in Cold country, it won’t ferment, so leave it in your oven with the oven lights on. This will help the batter to ferment well.
- U can prepare Idli_Dosa batter by omitting sago/sabudana and Beaten Rice / Poha.
Get this Related Posts Widget
Tuesday, 10 June 2014
Homemade Cumin / Jeera / Jeerige Powder .... Kitchen Basics
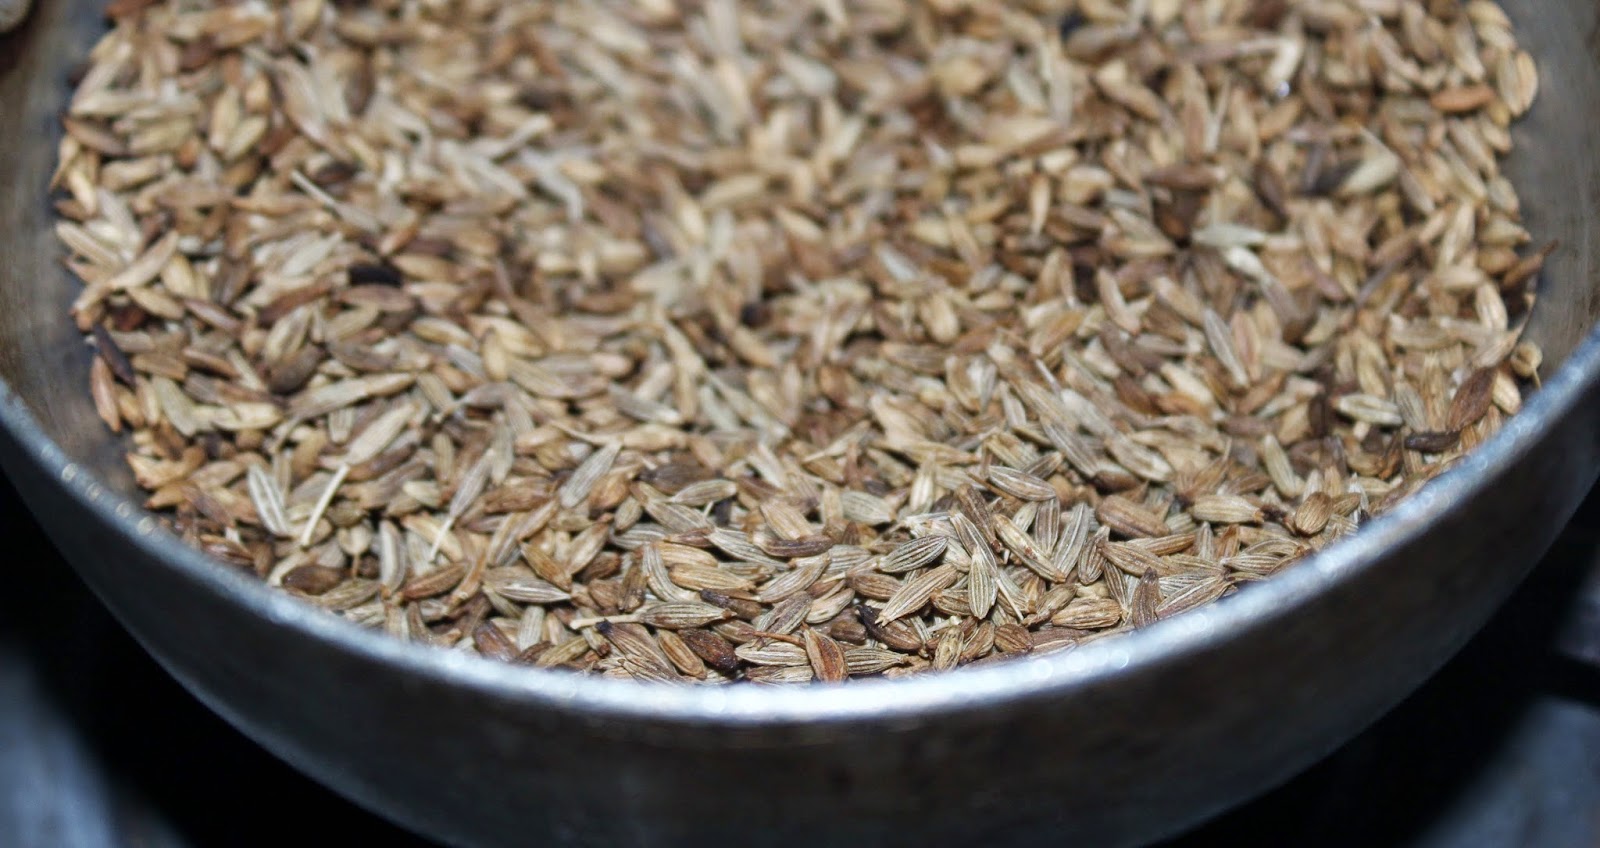
Cumin powder, it's too simple and easy to make. You can do even 1 tbsp of cumin powder or any quantity of your choice, I normally do in small batch and store it in airtight container, so I can always have fresh cumin powder as nothing beats fresh roasted cumin powder it's just too fragrant. If u purchase cumin powder it's not always roasted that's why the color of powder is not dark brown. So don't wait go ahead and make your own batch of Cumin / Jeera / Jeerige powder and use in your recipes.




Ingredients for Homemade Cumin / Jeera / Jeerige Powder :
1/2 cup Cumin Seeds / Jeera / Jeerige
To prepare Homemade Cumin / Jeera / Jeerige Powder :
1. Heat a pan or wok and add cumin seeds, roast in medium flame until light dark brown and fragrant.
Tips / Notes:
· U can take the Cumin Seeds/Jeera/Jeerige as per your requirement.
· While roasting cumin seeds keep stirring otherwise cumin seeds will be burnt quickly. If you over roast them it will be very dark brown color and bitter in taste.
Get this Related Posts Widget
Subscribe to:
Posts (Atom)