Showing posts with label Karnataka Recipes. Show all posts
Showing posts with label Karnataka Recipes. Show all posts
Friday, 26 September 2014
Easy Stuffed Eggplant and Potato Curry_Gutti Vankaya Koora with Bangala Dumpa
Easy Stuffed Eggplant and Potato Curry - Gutti Vankaya Koora with Bangala Dumpa. It is usually made with potatoes and tender, short and round egg plants (brinjal) be it a white or green or purple (your choice of color) the taste is pure fiery heaven. There are many ways of making this curry, but this is my own easy recipe and for this I am adding stuffed potatoes to give a light twist so that even children can enjoy this recipe and its our family favorite recipe too. Apart from its wonderful taste, this recipe provides a very healthy meal, as it is loaded with protein packed peanuts. A good reason to make this dish more often in every ones house.




1/4 kg Eggplants : 1/4 kg
4 to 6 Potatoes / Bangala Dumpa
1/4th cup Roasted Penut
1 tsp Red chilli powder
1 & 1/2tsp Coriander powder
1 tsp Ginger Garlic paste
1/4 tsp Turmeric Powder
Salt as per Taste
2 tbsp Olive Oil
To prepare Easy Stuffed Eggplant Curry - Gutti Vankaya Koora:
1. Dry roast the Peanuts and bring it to room temperature. (To avoid this step and fasten the process, dry roast the peanuts as soon as get it from the shop. Then after bringing them to room temperature, store them in airtight container and use whenever its required.)
2. Grind the masala by adding Roasted Peanuts, Red chilli powder, Coriander powder, Ginger Garlic paste, Turmeric Powder and salt by adding less water.
3. Wash the eggplants and Potatoes and make a plus shape slit and stuff them with the ground masala.
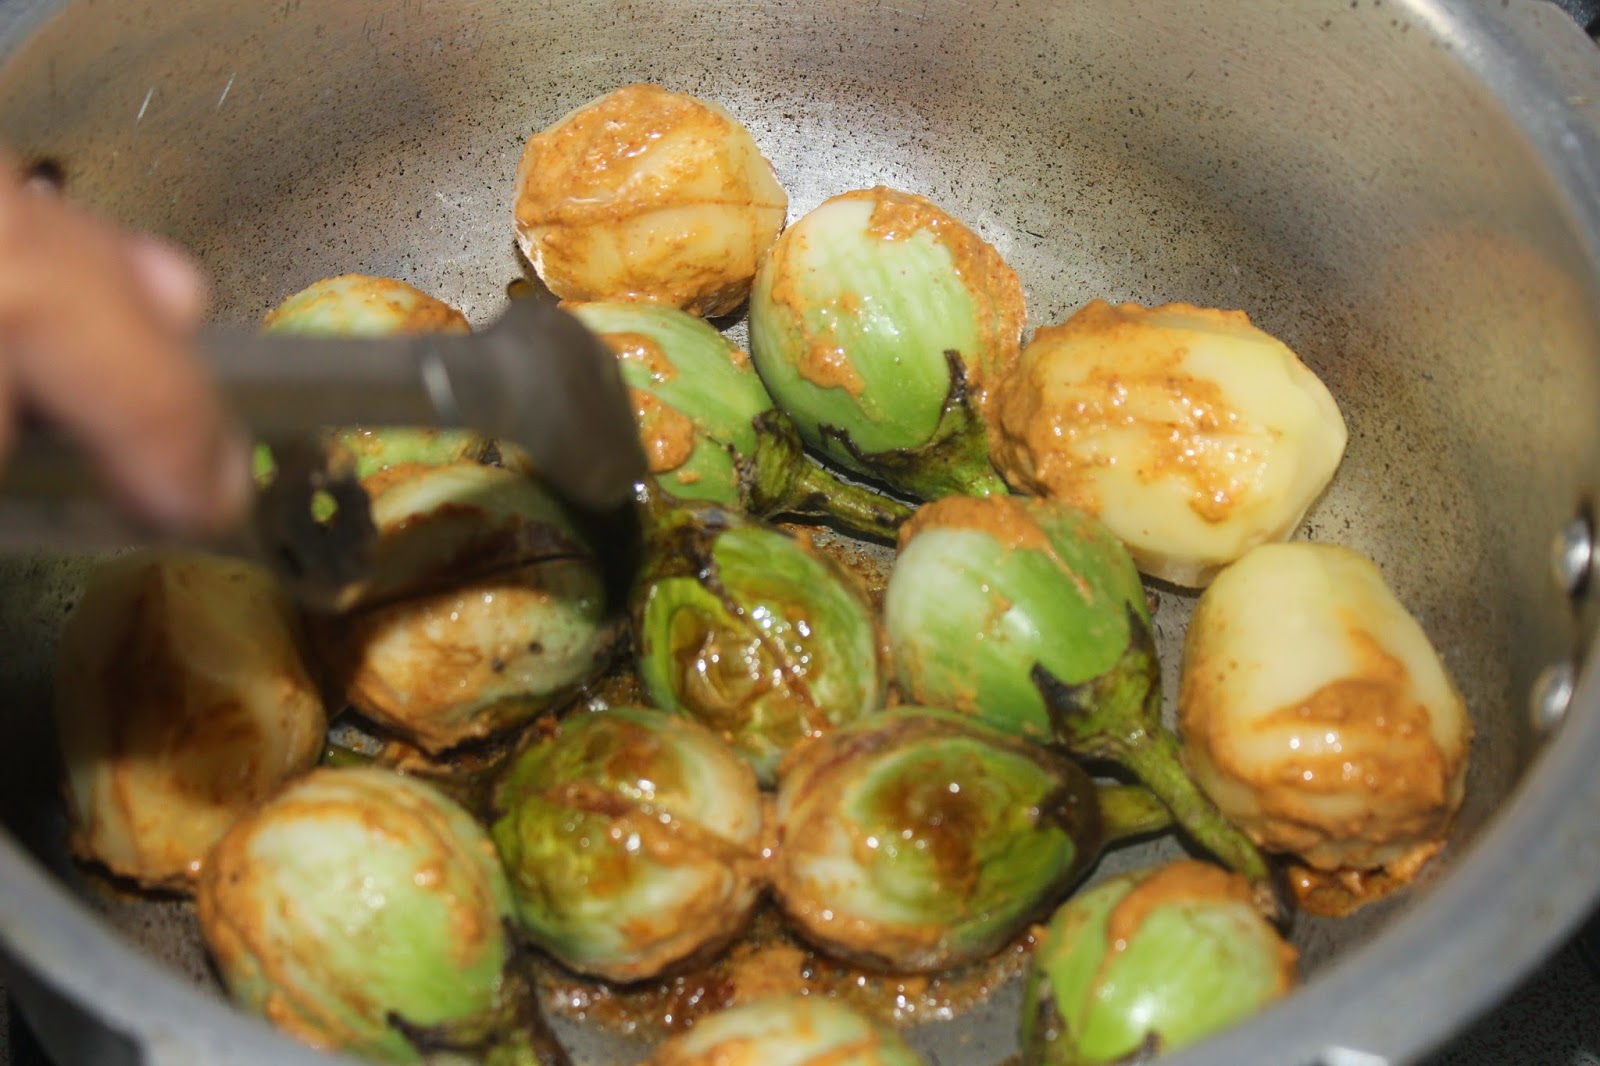
4. Heat oil in cooker and add the stuffed eggplants and Potatoes. Cook for 2 min then turn all the eggplants and potatoes to cook other side too.
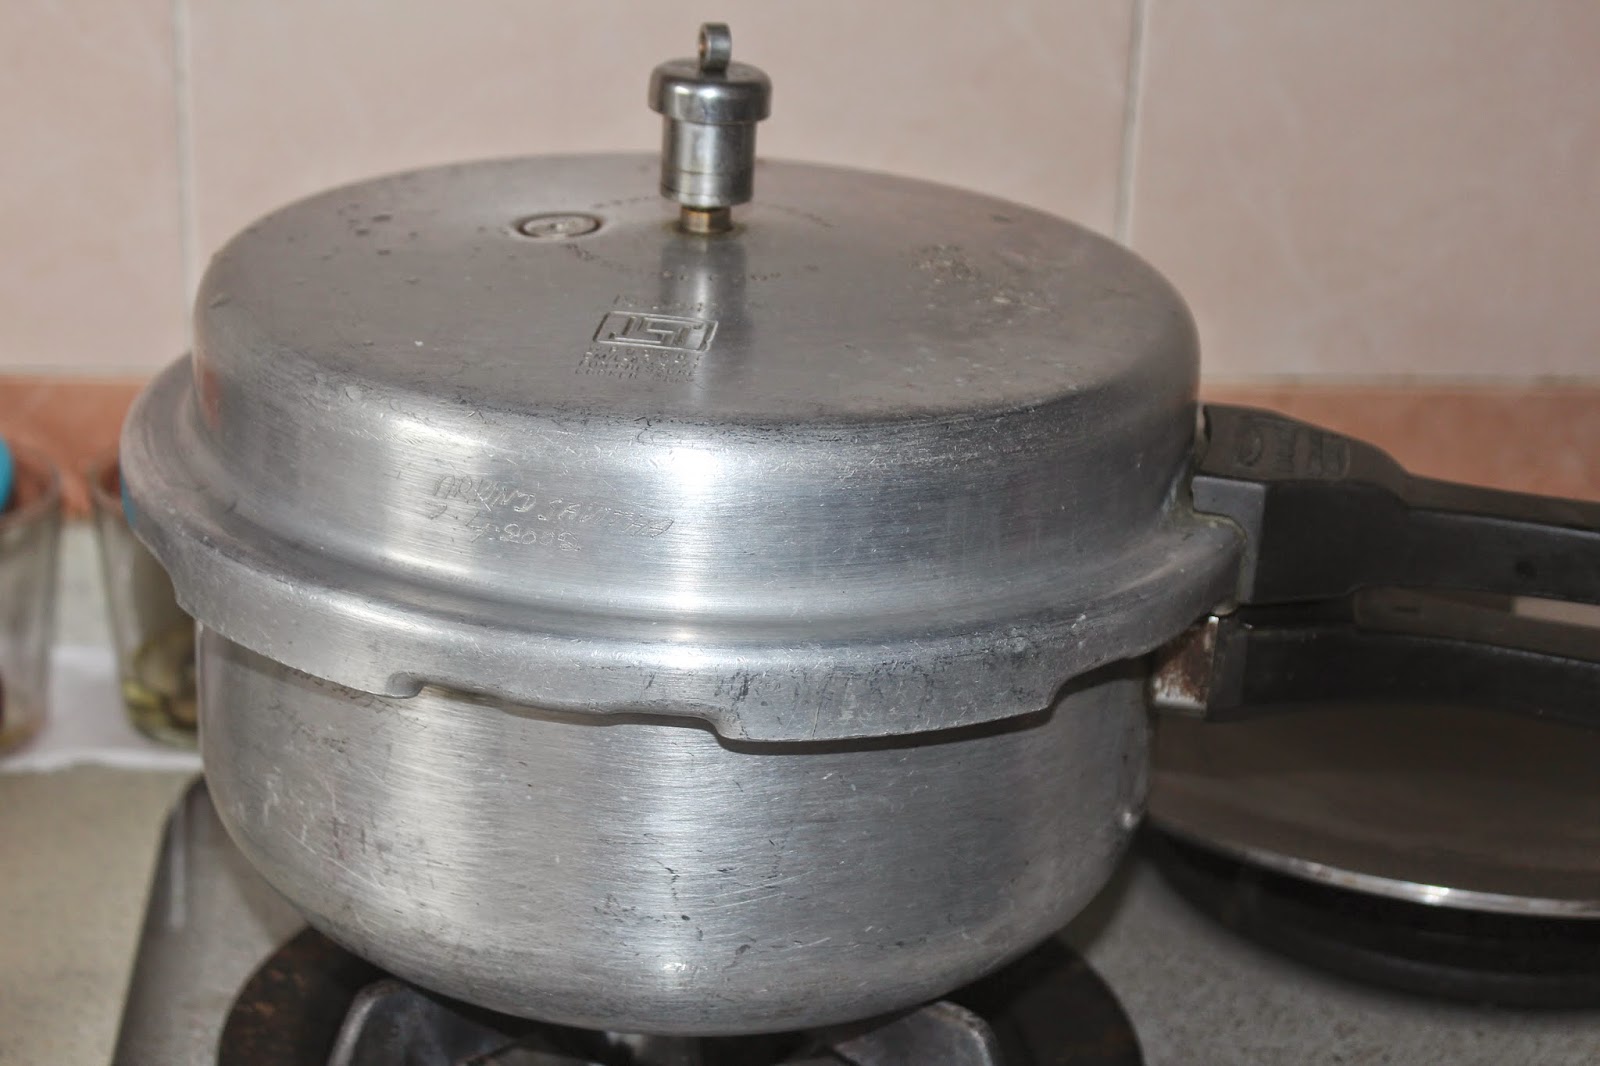
5. Then add remaining ground masala paste and required amount of water to it. Cover with lid and cook for two wishels.
6. Open the lid, adjust the taste and cook it further for 2 mins.
7. Easy Stuffed Eggplant and Potato Curry_Gutti Vankaya Koora with Bangala Dumpa is ready to serve. Serve it with roti, chapati or with white rice.
Tips / Notes :
- Adjust the spice and salt level as per your requirement.
- U can add Tamarind extract to get tangy taste.
- U can add onion too while grinding masala to get onion spice stuffed brinjal and potato curry.
- U can add fried sesame seeds while grinding masala to get different flavor.
Health Benefits
Eggplants:
1. Eggplant is very low in calories and fats but rich in soluble fiber content.
2. Eggplant is effective to control high blood cholesterol.
3. The peel or skin (deep blue/purple varieties) of aubergine has significant amounts of phenolic flavonoid phyto-chemicals called anthocyanins. Scientific studies have shown that these anti-oxidants have potential health effects against cancer, aging, inflammation, and neurological diseases.
4. This vegetable is an also good source of minerals like manganese, copper, iron and potassium.
Potatoes :
1. Potatoes are nutrient-dense, meaning you receive many nutrients for the amount of calories they have.
2. The fiber is half soluble, half insoluble, so it helps to keep you regular and helps to lower cholesterol. And slowing down digestion helps to keep you full longer
So try this recipe and write back to us…We love to hear from you.

Get this Related Posts Widget


Chayote squash Majjige Huli / Chayote squash Yogurt Curry
Different kinds of squashes and doddapatre / vaamaaku are used for making this curry, most common is ash gourd, doddapatre / vaamaaku other veggies and squashes like cucumber, winter squash, chayote, bottle gourd are used. I made this with Chayote (seemebadanikayi /chow chow) squash. Majjige (curds / yogurt ), Huli means thick curry made by grinding coconut with spices. When I get bored of eating sambar with rice I prepare this using more yogurt.

Ingredients for Chayote squash Majjige Huli / Chayote squash Yogurt Curry:
2 cups - Curds/yogurt
1 no - Chayote squash ( skin peeled, core removed, chopped and cooked till tender)
For grinding :
¼ Coconut grated
2 tbsp Dalia Dal/hurigadale
¼ cup Cilantro/coriander leaves washed
3 to 4 Green chillies
1 tsp Cumin seeds
Tempering
2 tsp Oil
½ tsp mustard seeds
1 tsp urad Dal
Hing a pinch (optional)
Salt as per Taste
To prepare Chayote squash Majjige Huli / Chayote squash Yogurt Curry:
1. Cook Chayote with little water, until just tender.
2. Take For grinding items and Grind into smooth paste with adding required amount of water.
3. Mix ground paste with yogurt, add cooked squash and salt mix well.
4. Do the tempering by adding mustard seeds and urad dal to oil, add hing. When dal starts to change color add the tempering to yogurt mixture. Mix well Majjige Huli / Yogurt Curry is ready to serve. Enjoy with hot rice.
Health Benifits :
Made from milk, this dairy product has a lot of health benefits. Here are some reasons why you should add curd to your daily diet starting today.
- Helps improve digestion
- Healthy for your heart
- Milk substitute for those who are lactose intolerant
- Helps boost immunity
- Good for your teeth and bones
- Helps you lose weight
- Helps release stress and anxiety
Although chayote (Sechium edule) is typically prepared as a vegetable, it is in fact a fruit. It’s quite crunchy flesh can be eaten both raw and cooked.
- Good for the heart (Folate – 23% DV)
- May prevent cancer (Vitamin C – 13%)
- Energizes the body (Manganese – 9%)
- Guard against constipation (Fiber – 7%)
- Keeps thyroid healthy (Copper – 6%)
- Helps prevent acne (Zinc – 5%)
- Prevents bone loss (Vitamin K)
- Eases tired and heavy legs (Potassium – 4%)
- Good for the brain (Vitamin B6 – 4%)
- Put leg cramps in check (Magnesium – 3%)
So try this recipe and write back to us…We love to hear from you.
Get this Related Posts Widget
Wednesday, 17 September 2014
Homemade Curd / Homemade plain yogurt / How to make Curd / Yogurt / Dahi at home .... Kitchen Basics
Yogurt / Curd is one of the mandatory item is lunch menu of Indians and its almost made in every house here. Making this is such an easy one and healthy too with no preservatives.


Milk-1/2 litre
Starter / Curd / Plain yogurt - 2 tbsp
Setting time required : 6 hours or more depending on the weather.
To prepare Homemade Curd / Homemade Yogurt :
1. Boil the milk well and Cool till it is only slightly warm ( you must be able to comfortably insert your finger in it and stay like that for 15 seconds ). DO NOT USE HOT MILK.
2. Transfer the Curd / Plain Yogurt into the bowl in which you want to set the Curd / Yogurt and pour the warm milk over and mix well. Close the lid tightly and keep to set in a warm place for about 6-8 hrs or overnight.
3. If the Curd / Yogurt is still stringy or runny, keep for some more time until it is perfectly set . That's it your curd is set. Use this as the starter Yogurt for the next batch.
4. U can use this Curd / Yogurt to make varieties of Raitas, Curd rice / Daddojanam, Masala Lassis, Sweet lassis, for curries preparation to give mild taste, for Biryanis and Bath preparations and even u can just mix Curd / Yogurt with plain rice and have it with favorite Pickles and so on....as per ur wish and place refrigerate the remaining. In summer the curd set faster and in winter it may take long time.
Tips / Notes :
- Take care not to move / disturb the bowl of curd at the setting period.
- The curd taste and quality depends on milk and Starter / Curd / Plain yogurt brand and type, temperature of the room and the milk, the amount of starter curd and setting time affect the process of curd making.
- So, when you fail to get that perfect bowl of curd, don't let that discourage you. Change in any one or more of the above factors might do the trick and you will be rewarded.
- The best option to set the yogurt in cold country is to leave the bowl of curd covered with a plate in the oven with the light turned on. Do not turn on the oven itself. The heat from the light is enough to give it that extra push.
FAQ’s about Yogurt / Curd :
1. Why did my curd not set properly?
Your milk might have been too hot or cold at the time of adding curd/culture.
Your quantity of curd/culture was not enough.
2. Why is my curd half-set (half of it is curd and the other half is milk)?
Once you add the curd, you should stir well such that curd and milk are blended well. Curd should mix with the milk uniformly.
3. Can I use sour curd as a culture instead of fresh one?
Always use fresh curd. Whenever you make a batch of curd, reserve a teaspoon of curd for the next batch. You can either freeze or refrigerate the culture. Before going to India myself put a cup of curd in the freezer. Once come back, i will make a new batch of curd with the frozen culture. If you are using the frozen culture, let it come to the room temperature, and then add it to the lukewarm milk. If you use sour curd, your new batch of curd will turn sour quickly.
4. Even after 5 to 6 hours, my curd has not yet set, what should I do?
Place the curd in a vessel of hot water and leave it aside for another 1.5 to 2 hours. If the curd does not set, then somewhere something has gone wrong. Do not worry. You will get it by practice and experience.
5. My curd is little watery. What should I do?
Try refrigerating it for 2-3 hours.
6. I live in a cold place. I see my curd is taking a long time to set up.
For a cup of milk, instead of adding 2 teaspoons of curd, add 3.5 teaspoons of curd. Also place the curd in a vessel of hot water and leave it aside for it to set. You can also preheat the oven for just 2 minutes at 180C. Switch off the oven. Keep the oven lights on and place the curd container inside the oven for 7 hours or let it stay overnight.
7. By mistake, I allowed the milk to cool down completely. What should I do now?
Its okay. Just heat the milk up and when it is lukewarm, add the curd culture.
8. When I boil milk, the bottom of my pan gets burnt and the milk has burnt flavor?
Keep stirring the milk on and off. or else use a non-stick pan.
9. Can I use the same container that I boiled milk to set up curd?
Do not make curd in the same container that you boiled milk. Set the curd in a different container.
10. Can I remove the cream that is formed on the milk?
It is your choice. With the cream, you will get a thick and creamy curd.
Health Benefits of Yogurt / Curd :
1. Yogurt comes from milk. So yogurt eaters will also get a dose of animal protein (about 9 grams per 6-ounce serving), plus several other nutrients found in dairy foods, like calcium, vitamin B-2, B-12, potassium, and magnesium.
2. Yogurt May Reduce the Risk of High Blood Pressure
3. Yogurt With Active Cultures May Discourage Vaginal Infections
4. Yogurt May Help You Feel Fuller
So try this recipe and write back to us…We love to hear from you.
Get this Related Posts Widget
Wednesday, 10 September 2014
Curry Leaves Chutney
Kadi patta or curry leaves commonly used as seasoning, this leaf adds a special flavor to every dish it is added to. Curry leaves are Packed with carbohydrates, fiber, calcium, phosphorous, iron, magnesium, copper, minerals and vitamins like nicotinic acid and vitamin C, vitamin A, vitamin B, vitamin E, antioxidants, plant sterols, amino acids, glycosides and flavonoids, curry leaves help your heart function better, fights infections and can enliven your hair and skin with vitality.
So by using this curry leaf we can prepare chutney to serve with breakfast dishes like Idli, Dosa, Pesarattu, Upma, Vada and Pongal. Apart from curry leaves which is the main ingredient, fresh coconut is also added and this is also a no onion and no garlic recipe.

Ingredients for Curry leaves chutney :
2tsp oil
1/2 tsp mustered seeds
3 to 4 stems Curry leaves
3 to 4 Green chillies
1/2cup grated fresh coconut
Small marble size Tamarind
Salt as per taste
1tsp gud or as per taste
1 pinch Hing
To prepare Curry leaves chutney :
1. Place a kadai on stove, put oil, mustered seeds. Once they start splutter add curry leaves, green chillies, and hing and fry for 2 to 3 min.
2. In a mixi jar add coconut, tamarind, salt, gud and the frayed curry leaves mixture and grind them to make chutney.
3. Temper it with mustered seeds and hing. Curry leaves Chutney is ready to serve with breakfat dishes like Idli, Dosa, Pesarattu, Upma, Vada and Pongal.
Tips / Notes :
- If u want u can add Rosted channa dal or fried Penuts to this chutney.
- I dont prefer to put tadka for any chutneyso that i can use it for more than a day by keeping it in refrigerator.
- This is also a no onion and no garlic recipe. So u can prepare this chutney during fasting.
Health Benefits of curry leaves :
1. Helps keep anaemia at bay
Tip: If you suffer from anaemia eat one date (khajoor) with two kadi patta leaves on and empty stomach every morning. This will not only help keep your iron levels up it will also help make you stronger and beat the symptoms of anaemia.
2. Protects your liver from damage
Tip: This remedy is very effective to strengthen the liver. Heat one spoon of homemade ghee, add the juice of a cup of kadi patta, some sugar and freshly powdered pepper. Remember to only heat this mixture a little as Kaempferol boils at very low temperatures and will evaporate if overheated.
3. Keeps your blood sugar levels under check – fights diabetes
Tip: To help keep your blood sugars under check you should ideally add kadi patta to all your meals. Alternatively having fresh leaves on an empty stomach everyday can also help.
4. Can help relieve the symptoms of diarrhoea
Tip: If you suffer from diarrhoea gently crush some kaddi patta into a ball (the size of a berry), and drink it with some butter milk. Do this twice to thrice a day for relief.
5. Reduces congestion in the chest and nose
Tip: To relieve congestion take a spoon of powdered curry leaves and add a spoon of honey to it. Make it a paste and eat this solution twice a day.
6. Is great to stop hair fall, premature greying of the hair and accelerate hair growth
Tip: To help strengthen your hair and fight dandruff, add the juice of kadi patta, to 100ml of coconut oil. Heat this oil till it turns blackish and apply it to your scalp regularly.
So try this recipe and write back to us…We love to hear from you.
Get this Related Posts Widget
Saturday, 6 September 2014
Methi Chicken
Methi chicken is a delicious and a distinctive flavorful dish. Chicken Curry prepared with fresh fenugreek leaves is really a non vegetarian delight. Here's comes the easy method to prepare.


1000 grams chicken (In this recipe I am using natu kodi)
2 tsp Shajeera
1 tbsp oil
4 cloves
4 small cinnamon sticks
4 Green Cardamom
1 Star Anise
1 to 2 Bay leaves
2 med onions chopped finely
2 med Tomatoes chopped finely
1 bunch fenugreek leaves
1 tbsp ginger garlic paste
1/2 tsp turmeric
1 1/2 to 2 tsp chilli powder
1 1/2 to 2 tsp coriander powder
2 tbsp coconut powder
Water as needed
Salt as per taste
To prepare Methi Chicken :
1. Take a pressure cooker add oil, Whole garam masala and saute till aroma comes from garam masala.
2. Add shajeera, chopped onion, ginger garlic paste, salt. Cook till onions are slightly golden brown, then add fenugreek leaves and mix well.
3. Now add chicken and cook for 5 min then add tomatoes, chilli powder, coriander powder, turmeric powder, coconut powder and required amount of water depending on the required curry thickness mix well.
4. Close with lid cook for 3 to 4 wishals or till chicken gets tender.
5. Methi Chicken is ready to serve. Sprinkle some coriander leaves and serve hot with Chapati, roti, Steamed Rice or even with Dosa or Idli.
Tips / Notes :
- For this recipe u can add Curd to get mild flavour.
- Adjust the spice and salt level as per your taste buds.
- U can prepare this recipe by just adding garlic paste instead of Ginger garlic paste.
Health Benefits :
1. Fenugreek appears to slow absorption of sugars in the stomach and stimulate insulin. Both of these effects lower blood sugar in people with diabetes.
2. Women who are breast-feeding sometimes use fenugreek to promote milk flow.
3. Chickens are low in fat and calories and high in protein, which makes it ideal for weight maintenance. Not to mention that this bird is jam-packed full of essential nutrients and vitamins.
So try this recipe and write back to us…We love to hear from you.
Get this Related Posts Widget
SIMPLE VEGETABLE SAAGU
Vegetable Saagu is a classic Kannadiga dish. Visit any of the Darshini hotels or Dosa corners and you are sure to see Vegetable Saagu as their signature dish. I prepare this dish with leftover vegetables at the weekend or month end dazzle with flavour and aroma and are not less worthy than any other exotic dish. Traditionally we prepare saagu using grinded masala. But in this recipe I am not using any grinded masala to fasten its cooking process. This saagu an be served with Avalakki set Dosa, Set Dosa, Rava Idly, Rava Dosa, Chapathi, Poori, Any type of Dosa, or even with rice.


3 tsp Olive oil
1 tsp cumin seeds
3 small piese cinomon sticks
4 cloves
2 green cardamoms
1 star anise
2 med size chopped onions
1 tsp ginger garlic paste
1 stem curry leaves
1 cup green beans
1 med size chopped Capcicum
2 med size chopped tomatoes
2 boiled potatoes chopped in cubes
1 tsp Red chilli powder
1&1/2tsp coriander powder
1 tsp garam masala powder
Salt as per taste
To prepare Vegetable Saagu :
1. Heat oil in a kadai or pan. Whole garam masala (cinomon sticks, cloves, green cardamoms and star anise) and saute till aroma comes from garam masala.
3. Add cumin seeds, chopped onions, ginger garlic paste, curry leaves and salt. Cook till onions are slightly golden brown, at this point add green beans and capsicum and saute for 2 min.
4. Now add required amount of water, tomatoes, cooked potato cubes, chilli powder, coriander powder and cook for 10 more min.
5. Add garam masala powder. At this stage taste the curry and adjust the salt and spice level.
5. Vegetable Saagu is ready to serve. Serve hot with Avalakki set Dosa, Set Dosa, Rava Idly, Rava Dosa, Chapathi, Poori, Any type of Dosa, or even with rice.
Tips / Notes :
- For this recipe u can add Curd to get mild flavour.
- Adjust the whole garam masal, spice and salt level as per your taste.
- U can prepare this recipe by just adding garlic paste instead of Ginger garlic paste.
- U can omitt Ginger garlic paste to prepare it as fasting recipe.
- U can add vegetables of your choice.
Health benefits
1. Most vegetables are naturally low in fat and calories. None have cholesterol.
2. Vegetables are important sources of many nutrients, including potassium, dietary fiber, folate (folic acid), vitamin A, and vitamin C.
So try this recipe and write back to us…We love to hear from you.
Get this Related Posts Widget
Authentic Andhra Tasty Tomato DAL
Tomato Dal or Tomato Pappu or Tomato Bele is a tasty and simple delicious Dal prepared in mostly each and every south Indian homes every day. Boiled and mashed dals cooked with some tangy tomatoes. This recipe is very simple to prepare and it tastes wonderful.



Ingredients for Tasty Tomato DAL:
Toor Dal: 1/2 cup
Toor Dal: 1/2 cup
Moong Dal : 1/2 cup
Tomatoes : 1 cup chopped
Ghee : 2 tbsp
Tomatoes : 1 cup chopped
Ghee : 2 tbsp
Mustard Seeds : 1/2 tsp
Cumin seeds : 1/2 tsp
Dried Red Chillies : 4
Garlic cloves : 3 to 4 sliced thinly
Dried Red Chillies : 4
Garlic cloves : 3 to 4 sliced thinly
Hing : 1 pinch
Curry Leaves : 1 string
Red Chilli Powder: 1 tsp or as per taste
Turmeric Powder : 1/4 tsp
Salt to taste
To prepare Tasty Tomato DAL:
1. Pressure cook the rinsed toor dal and moong dal till they become mashy. approximately 4 to 5 vishal.
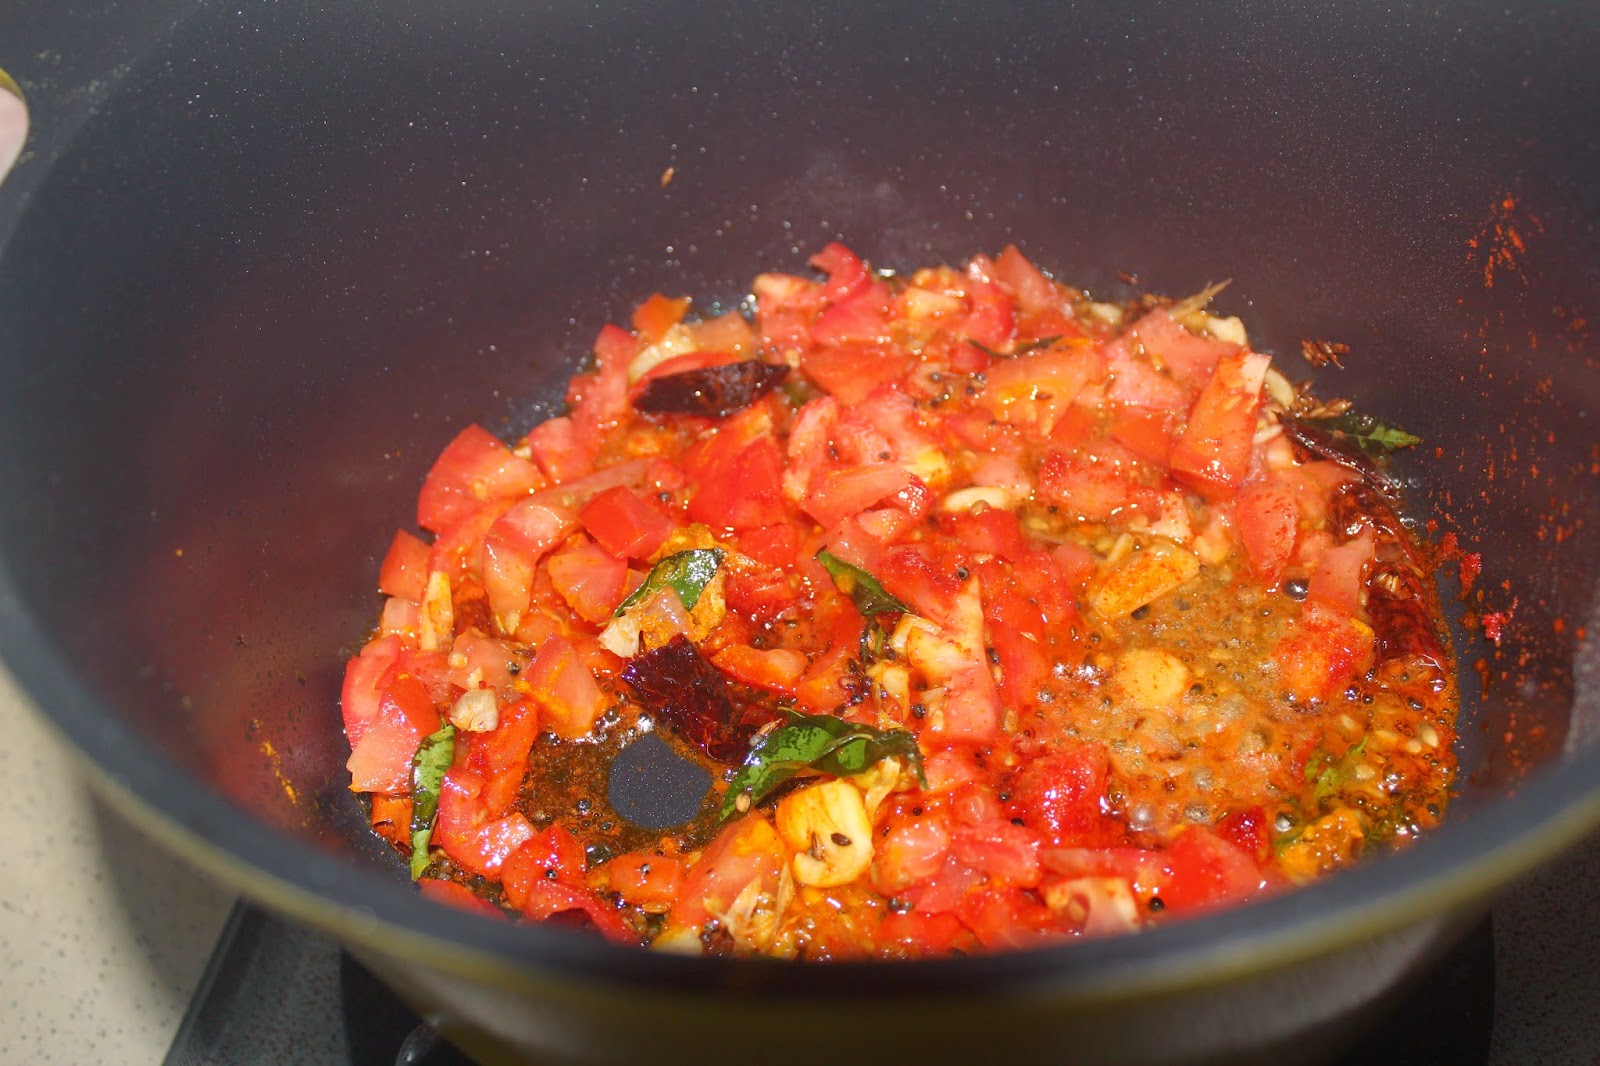
2. Heat ghee in a pan add red chillys, mustered seeds, cumin seeds, sliced garlic cloves, curry leaves add tomatoes saute for a while then add chilly powder, turmeric powder, hing, salt and cook for 3 min, pour the cooked dales and cook for some time.
3. Switch off the flame and serve hot with steamed rice / Idli / chapati / roti.
Tips / Notes:
- U can add fennel seeds instead of garlic cloves for to get fennel flavored dal.
- U can add Channa dal and Toor Dal 1/4 cup each instead of adding Toor Dal 1/2 cup
Health Benifits :
Lentils are Low in calories and high in nutrition - that anyone can benefit from by incorporating this healthy legume into their diet.
For Detailed information about lentils refer www.mindbodygreen.com .
Get this Related Posts Widget
Plain Dosa / Sada Dose
Plain Dosa / Sada Dose is fast and easy to cook. This page would talk only about how to make plain dosa. Plain Dosa / Sada Dose is a simple breakfast recipe made with white gram dal and rice. Dosas recipe is one of the famous south Indian breakfast dishes. If you are looking for recipes for Dosa which is crispy and tasty then you visited the right page. This Plain Dosa / Sada Dose is a main dish which could be used along with side dishes like PenutChutney, Pudina Chutney, Coconut Chutney or any other chutney varieties or with any Chutney podi mixed with ghee.


Ingredients for Plain Dosa /
Sada Dose :
2 cup Idli_Dosa Batter
Oil to cook dosas
To prepare Plain Dosa / Sada
Dose :
1. Heat a non-stick Dosa pan or Iron tawa. Add ¼ spoon of oil and
rub with onion. This process would prevent dosa from sticking to the tawa.
2. Pour a ladle of batter in the center of tawa and spread it in a
circular motion.
3. Drizzle some oil around the Dosa and across the Dosa.
4. Once the Dosa start getting golden color, flip it over to the
other side and cook well and turn it back.
5. Serve hot with any side dishes like Penut Chutney, PudinaChutney, Coconut Chutney or any other chutney varieties or with any Chutneypodi mixed with ghee.
So try this recipe and
write back to us…We love to hear from you.
Get this Related Posts Widget
Subscribe to:
Posts (Atom)