Tuesday, 22 July 2014
Avalakki Set Dosa / Poha Set Dosa / Beaten Rice Set Dosa
Avalakki / Poha / Beaten Rice set Dosa is a very famous South Indian breakfast. It also makes for nice evening tiffin that goes well with any chutney. The batter is prepared using Rice, Poha and Curd (Yogurt) without using Udad dal.

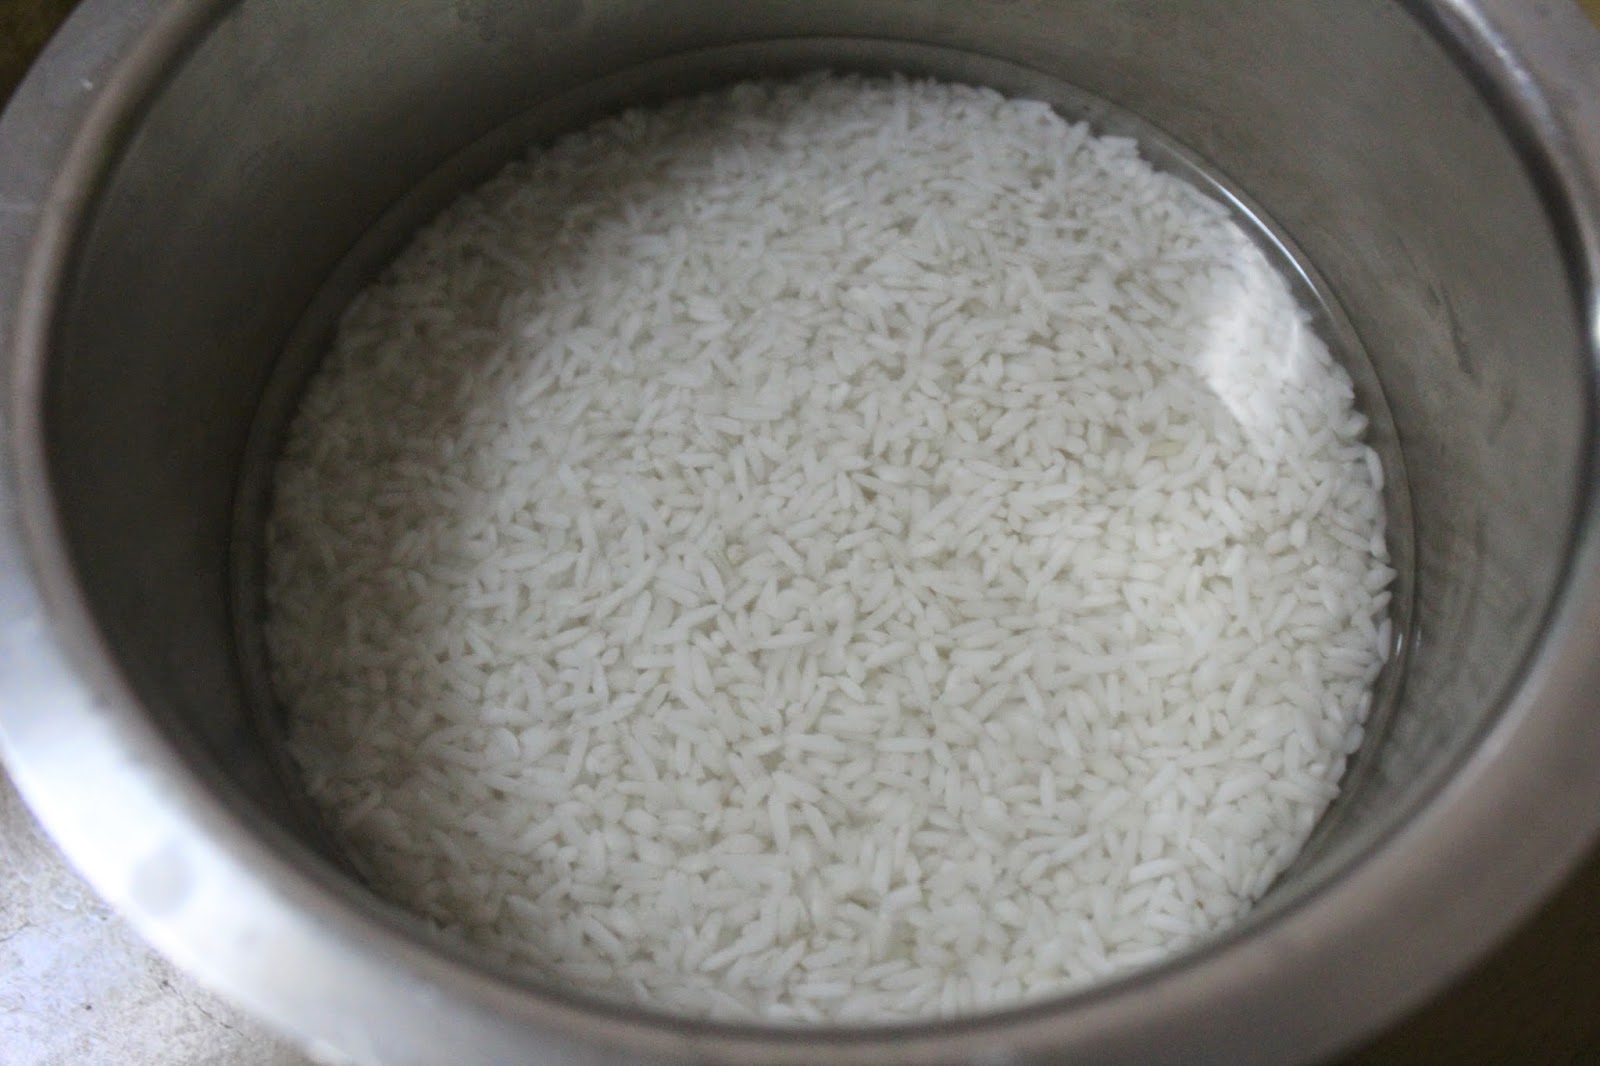


Ingredients for Avalakki / Poha / Beaten Rice set Dosa :
1 cup Raw-rice
1 cup Idli Rice
1 cup Beaten rice / Avalakki / Poha
1 cup Curd(yougurt)
Water to grind the Batter
Water to grind the Batter
Oil to prepare Dosa
To prepare Avalakki / Poha / Beaten Rice set Dosa :
1. Wash both the rice in running water for 2-3 times and soak it for 4-5 hours.
2. Wash the Beaten rice / Avalakki / Poha in a running water for 2-3 times and soak it with water and curd for 4-5 hours or add the curd while grinding the batter.
3. Make dosa bater by adding soaked Rice and avalakki and grind it into a fine paste and put into a large bowl.
4. Let it ferment for overnight. Fermentation is the key part here. When you open the lid you must smell sourness which indicates a well fermented batter.
5. Before preparing Dosa add salt to the batter and mix well. (If required can add cooking soda)
6. Heat a non-stick dosa pan and apply the oil. Once the oil is hot enough pour the batter on it and spread the size of set dosas (do not spread like normal dosa, it should be very thick) and pour the oil, and put the lid on and let it cook for 2 minutes in a slow flame. Turn and cook on the other side without the lid for 1 more min.
7. Homemade Avalakki / Poha / Beaten Rice set Dosa is ready to serve. Serve it with any choice of your chutney.
So try this recipe and write back to us…We love to hear from you.

Get this Related Posts Widget


Sunday, 20 July 2014
Instant OATS ADAI
Instant OATS Adai is a very healthy Indian breakfast dish served with coconut chutney. Adai is made of Oats, tomatoes, onions and some basic Indian spices. It is usually prepared for breakfast and is filling and healthier than dosa. It is a comfort food which is enjoyed by everyone of all ages. These Adais tasts when had with Tomato Sauce or Coconut chutney. So do try this recipe I promise u'r kids are going to love them a lot.....


Ingredients for Instant OATS Adai :
2 cup Oats
1/4 cup Semolina / Rawa
1/4 cup Rice flour
2 small onions finely chopped
2 small Tomatoes finely chopped
2 Carrots grated
1 tsp Coriander powder
1 tsp Red chilli powder
Salt as per taste
Oil to prepare Adai
Water to make batter
To prepare Instant OATS Adai :
1. Take a bowl add OATS, Semolina / Rawa, Rice flour, Onions, Tomatoes, Carrots, Coriander powder, Red chilli powder and Salt and mix well. and add required amount of water to make dosa batter consistency.
2. For this add required amount of water to make coarse and thicker batter consistency.
3. Heat a non stik dosa pan and apply the oil. Once the oil is hot enough pour the batter on it and spread the batter, (Compare to dosa OATS Adai is slightly thicker) and make some holes on the Adai and pour the oil, and put the lid on and let it cook for 2 minutes in a slow flame. Turn and cook on the other side with out the lid for 1 more min.
4. Serve this hot OATS Adai with Tomato Sauce or Coconut chutney.
Tips / Notes :
- U can adjust the Semolina / Rawa and Rice flour quantities as per your requirement.
- U can add Green chillies instead of red chilli powder.
- U can add whole black pepper to make more spice and tastier OATS Adai.
Health Benefits of OATS:
1. Low calorie food; stops cravings.
2. Provides high levels of fiber, low levels of fat, and high levels of protein.
3. Stabilizes blood sugar and reduces risk of diabetes (type 2)
4. Removes your bad cholesterol (without affecting your good cholesterol).
5. Gluten-free safe.
6. Contains lignans which protect against heart disease and cancer.
7. Contains unique antioxidants beneficial for heart disease.
8. Protects against heart failure.
8. Protects against heart failure.
9. Enhances immune response to disease.
So try this recipe and write back to us…We love to hear from you.
Get this Related Posts Widget
Friday, 18 July 2014
Spicy Paddu / Guliyappa / Paniyaram
Paddu has different names in South India we call it Paddu, Guliyappa, Gunta Pangana, Gulittu, Paniyaram and everybody in the family likes to eat. Paddu is the popular breakfast & snack in Karnataka. Simple and easy to make it is definitely a mouth-watering and crispy dish. I make it from the left over Idli - Dosa batter stored in the refrigerator. This breakfast is children favorites too because of its shape and size.


2 cup of Idli - Dosa batter
1 Medium Sized Onion finely chopped
2 Green Chilies finely chopped
5-6 Curry leaves finely chopped
1 tsp Salt or to taste
5 to 6 Stems of Coriander leaves finely chopped
This quantity makes around 30-35 Guliyappa/Paniyaram/Paddu
Oil to prepare Paddu
To prepare Spicy Paddu / Guliyappa / Paniyaram:
1. Add Onion, Green chillies, Curry leaves, Coriander leaves and salt to fermented Idli - Dosa batter and give the batter a very good mix and keep it ready.
2. Now heat the Paddu pan and grease all the moulds with a drop of oil each. Keep the flame on med and slowly fill in each mould with batter. Cover lid and cook for 2 -3 minutes. Remove the lid once the edges are golden brown put a drop of oil on each of them and flip all of them. Reduce flame and cook for another two minutes. Remove from the pan and transfer it to the plate.
3. Paddu is ready to serve. Serve hot with Simple Coconut chutney.
Tips / Notes :
- U can add Soacked Channa dal and fresh grated coconut along with other ingredients.
- U can heat oil in a pan and add mustard, once it start popping add channa dal(channa dal without soaking). After it turns slightly brownish, add chopped curry leaves, onions, finely chopped chillies and fry for 2minutes. Now add this to the batter along with grated coconut and coriander to make another variation of Spicy Paddu.
Get this Related Posts Widget
Idli - Dosa Batter .... Kitchen Basics
Well Idli – Dosa batter is something that comes in handy on busy days. You can prepare batter for some 3-4 days and you are well in a meal within 10 mins. To prepare this you have to plan it well because you need almost a whole day for soaking and a whole night for fermenting. But trust me once u make this batter your life will become more easier for next 3 to 4 days to prepare breakfast or dinner.


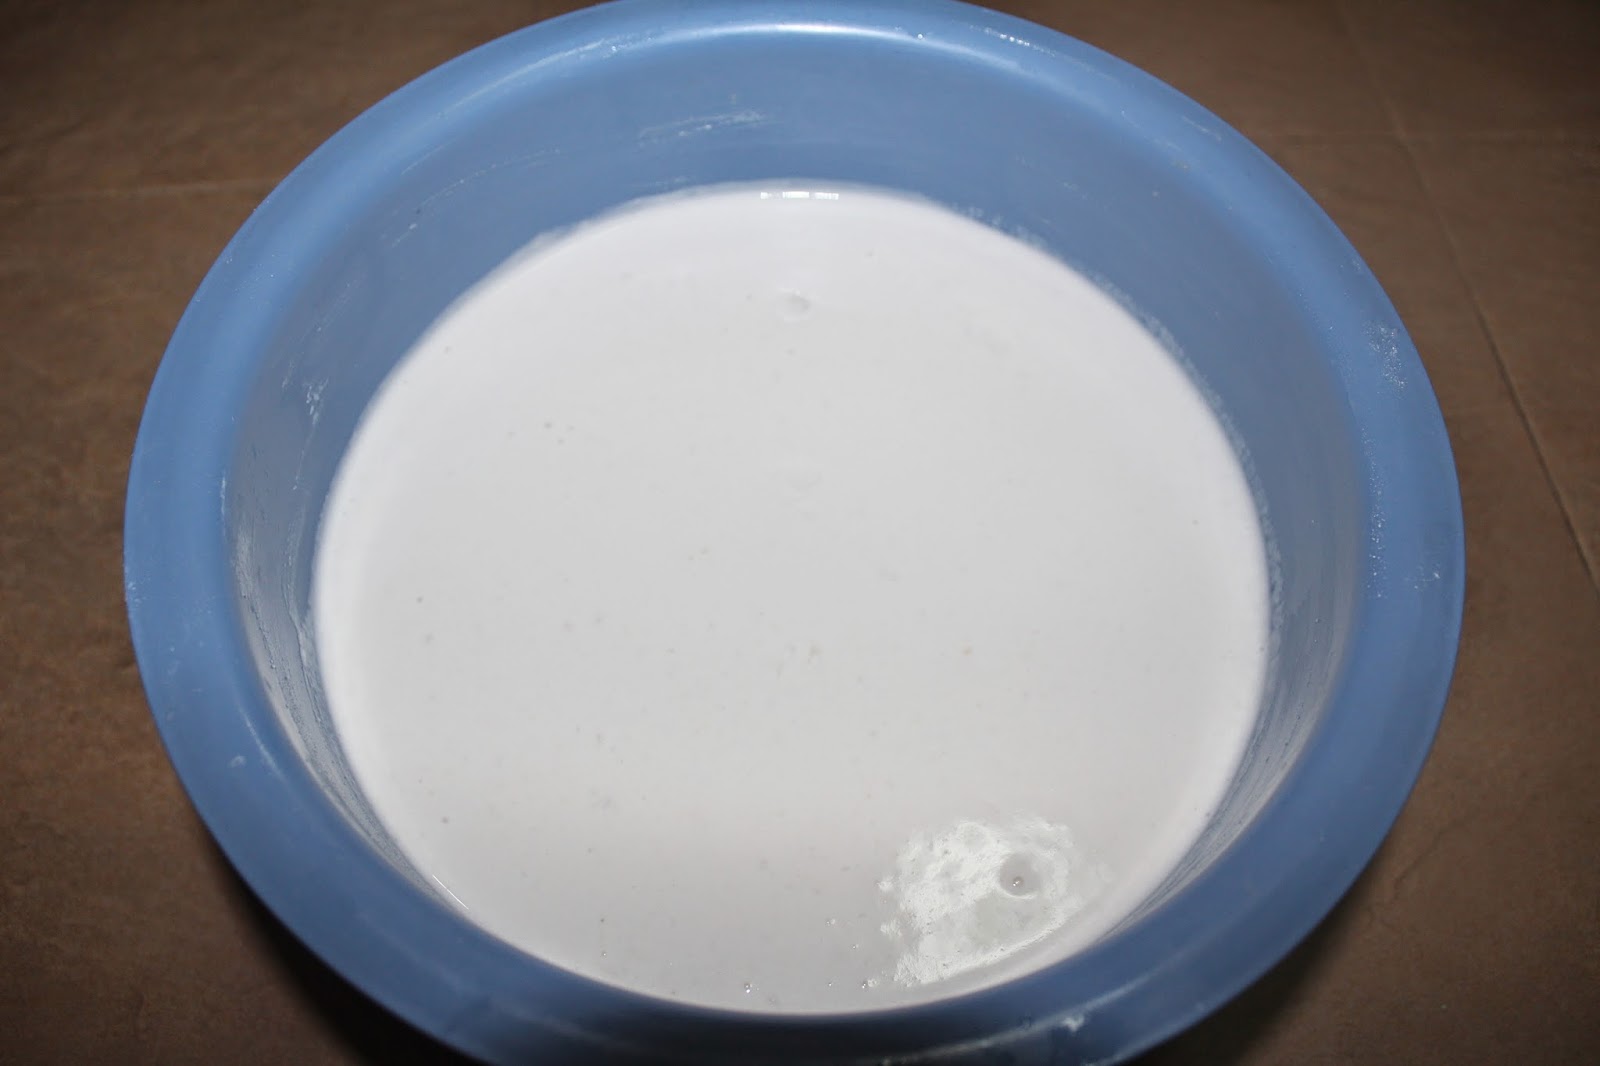
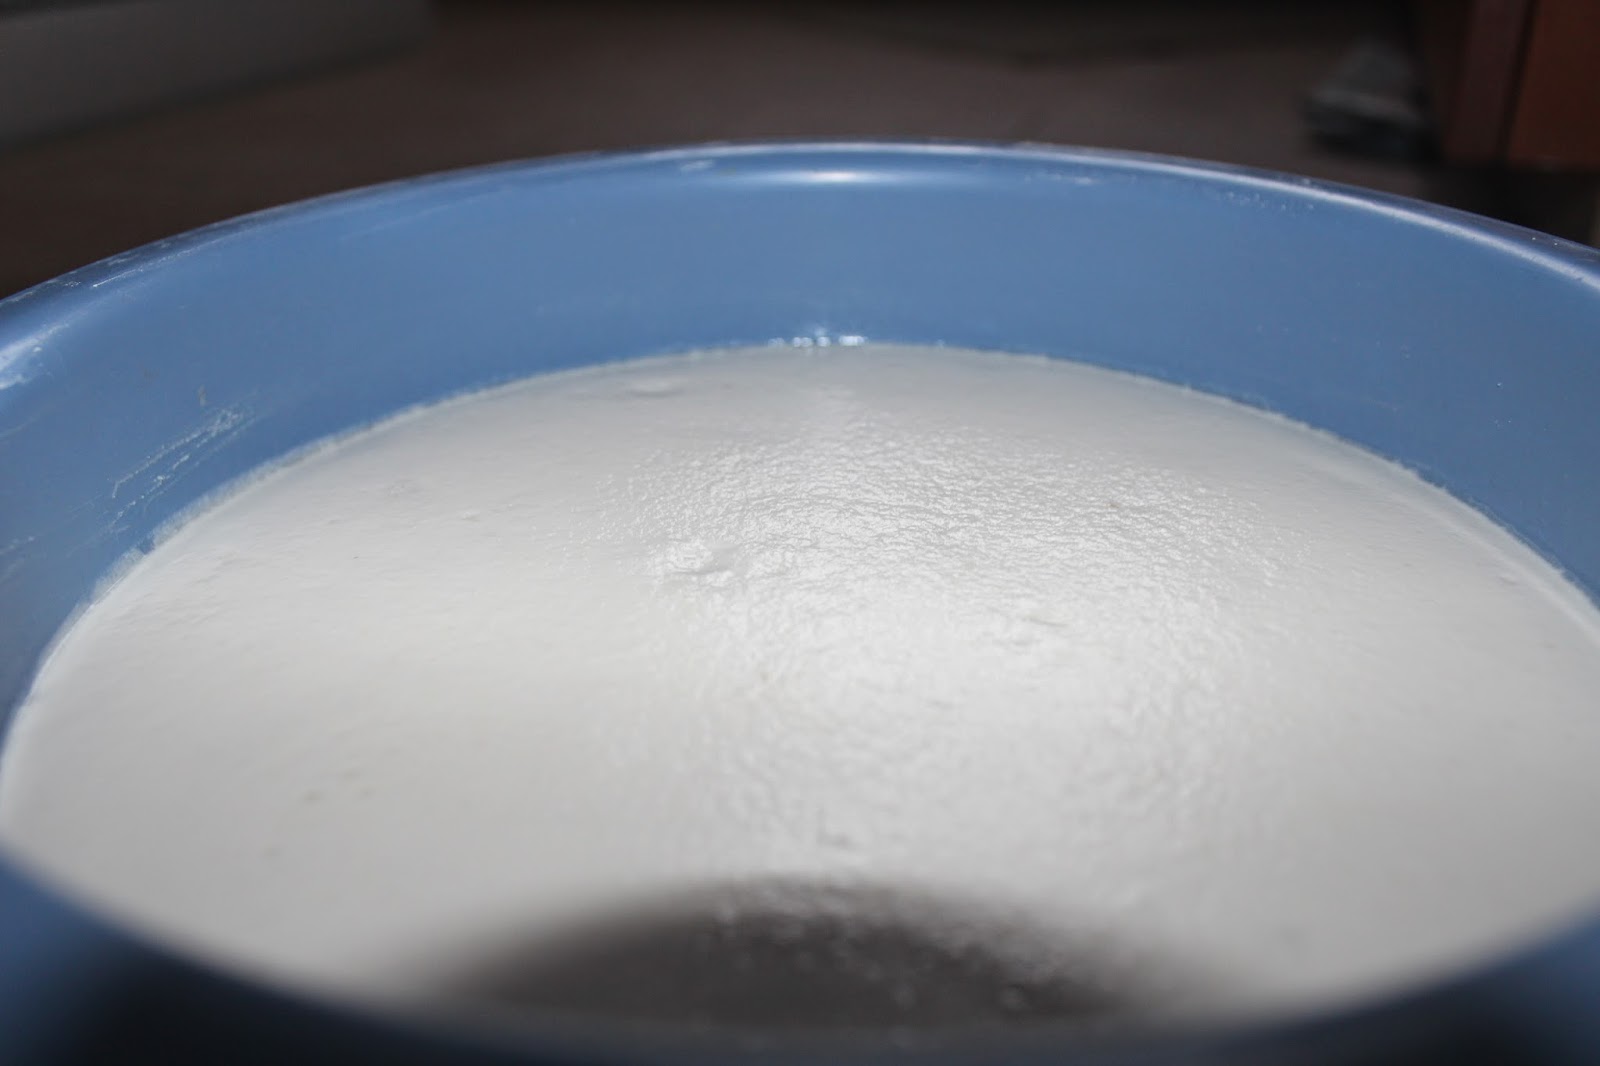

Ingredients for Idli - Dosa Batter :
2 cup Idli Rice
2 cup normal rice
1 cup whole black gram (urad dal, skinned)
½ cup Beaten Rice / Poha
½ cup sago/sabudana
2 tsp Fenugreek Seeds
Salt as per Taste
Water to grind the batter
To prepare Idli - Dosa Batter :
1. Soak the Black gram / udad dal and Fenugreek seeds together in a bow and the rice separately in another bowl for at least 4 hours.
2. Soak the Beaten Rice / Poha and sago / sabudana together in a bowl for just ½hr before grinding.
3. You can either use Mixie or wet grinder to grind the Batter. I used wet grinder for making it.
4. First grind Black gram / udad dal and Fenugreek seeds mixture by adding required amount of water by checking frequently start with a glass of water. It takes 15 to 20 min to grind the udad dal.
5. Switch off the wet grinder add Rice, Beaten Rice / Poha and sago/sabudana together to dal batter ad start grinding by adding required amount of water by checking frequently. When the rice is almost grind ed transfer it to a big container.
6. Set the batter to ferment overnight. Mix the batter well and take out the required amount of batter and add salt to it and mix well to prepare Idli or Dosa. Keep the remaining batter in the refrigerator. When ever need to use the refrigerated batter add salt to it and make Idli or Dosa by using the same.
Tips / Notes:
- For entire Batter u can add salt before fermentation. But I prefer to add salt before using the batter to avoid further fast fermentation process. (when u keep in the fridge it gets forment too)
- U can grind dals and rice separately. But I prefer to grind together.
- If more Fenugreek seeds are added batter color won’t be white.
- First day use this batter to prepare Idli.
- From second day prepare dosa by adding required amount of water.
- If you are in Cold country, it won’t ferment, so leave it in your oven with the oven lights on. This will help the batter to ferment well.
- U can prepare Idli_Dosa batter by omitting sago/sabudana and Beaten Rice / Poha.
Get this Related Posts Widget
Monday, 14 July 2014
Baking a Cake Using Pressure cooker
Baking a cake without using an oven? is a common question most of the women get. Before buying the oven I used to bake cakes using a pressure cooker and the outcome used to be marvelous. I thought to share my experience and the recipe since too many queries exist! Here, is how to bake a Egg-less Chocolate Beetroot Cake Using Wheat Flour in a pressure cooker.

Ingredients for Egg-less Chocolate Beetroot Cake with Wheat flour:
2 cup Wheat flour
2 med size Beetroot grated
1/2 cup Oil
2/3 cup Sugar
6 tbsp Unsweetened Cocoa Powder
1 1/2 cup hot water
1/2 tsp Baking Soda
1/2 tsp Baking Powder
2 tbsp lemon juice
1/2 tsp Vanilla Essence
For baking
Pressure Coker to bake cake
1 cup salt
To prepare Egg-less Chocolate Beetroot Cake with Wheat flour :
1. Spared a cup of salt at the bottom of the cooker.
2. Preheat the cooker without putting the Vishal.
3. Prepare the cake batter by fallowing the below steps.
4. In a bowl add all wet ingredients - Oil, Sugar, Hot water, Vanilla Essence, and stir well till sugar dissolves.
5. Sew all dry ingredients to wet ingredients Wheat flour, Cocoa Powder, Baking Soda, Baking Powder and mix well.
6. Add Lemon juice. It reacts with baking soda in it, which helps cake to rice.
8. Grease cake tin with butter and pore the cake mixture.
5.
6. Delicious Egg-less Chocolate Beetroot Cake with Wheat flour prepared using pressure cooker is ready to serve.

Sending this to
the following events:
So try this recipe and write back to us…We love to hear from you.
Get this Related Posts Widget
Goat Mutton Kheema Curry
Goat Mutton Kheema Curry has been traditionally made as Mutton curry using Mutton in my family. I only started making this as mutton kheema curry using ground Mutton. This is an very easy recipe and goes well with Rice, Rotis or Naans. Since we’re using ground meat, the cooking process is fairly quick. My daughter absolutely love this dish and its a weekly staple in my family. The house smells of all the fragrant spices used here and the end result is a flavorful, rich and delicious meal that your family will enjoy!


Ingredients for Goat Mutton Kheema Curry :
Goat Mutton mince- 300 gms
2 med Onions finely chopped
1 med Tomato finely chopped
Ginger garlic paste-1 tbsp
1 tsp Turmeric Powder
1 & 1/2 tsp Red Chilli Powder -1 tsp
1 tsp Coriander Powder
Oil- 2 tbsp
1 stem Curry leaves (optional)
1 inch Cinnamon stick / dalchinni / chakka
3 green cardamom
4 cloves
Water-1/2 cup
Salt-to taste
To prepare Goat Mutton Kheema Curry :
1. In a bowl put Mutton mince, chilli powder, Coriander Powder, turmeric and salt mix well and keep it aside.
2. In a Pressure cooker add oil, green cardamom, Cinnamon stick / dalchinni / chakka, cloves. Let them release the aroma.
3. Now add curry leaves, chopped onions, ginger garlic paste and sauté till onion gets golden brown.
4. Add Goat Mutton mince mixture and saute for a while. Add Tomatoes and saute for 2 more min. If required glaze with some water. Put the lid and cook for 4 to 5 vishal switch off the flame and allow the pressure to release.
3. Now add curry leaves, chopped onions, ginger garlic paste and sauté till onion gets golden brown.
4. Add Goat Mutton mince mixture and saute for a while. Add Tomatoes and saute for 2 more min. If required glaze with some water. Put the lid and cook for 4 to 5 vishal switch off the flame and allow the pressure to release.
5. Goat Mutton Kheema Curry is ready to serve. Garnish with chopped coriander leaves, Serve hot with Chapati, Roti or with rice.
Tips / Notes:
· U can fallow the same steps to prepare Chicken Kheema curry. To prepare this use Chicken mince instead of Goat Mutton mince and cook max for 2 vishal (chicken cook faster than mutton)
· U can add garam masala powder at the end to get more flavor and spiciness.
· When we cook minced mutton oil will osseous from it. So take care while adding oil to this recipe.
· U can fallow the same steps to prepare Chicken Kheema curry. To prepare this use Chicken mince instead of Goat Mutton mince and cook max for 2 vishal (chicken cook faster than mutton)
· U can add garam masala powder at the end to get more flavor and spiciness.
· When we cook minced mutton oil will osseous from it. So take care while adding oil to this recipe.
Health Benefits :
Goat meat contains a lot of vitamins and nutrients needed by the body. In goat meat contained iron, choline, selenium and vitamin B. Vitamin B itself is useful to health, which helps burn fat. In addition to vitamin B, selenium and choline contained in mutton beneficial to ward off cancer.
Another benefit of milk goat is as follows.
1. Inhibits fragility bone (osteoporosis).
2. Heal less blood.
3. Treating TB disease and asthma.
4. Helps restore maternal health who new gave birth.
5. Heal bleeding after childbirth.
6. Recovering iron after menstruation
7. Controlling blood cholesterol levels
8. Cure disease kidney disorders
9. Heal uric acid disease
10. Smoothing the skin.
So try this recipe and write back to us…We love to hear from you.
Get this Related Posts Widget
Saturday, 12 July 2014
JEERA MATAR RICE / CUMIN PEAS RICE
If you are getting tired of eating normal rice everyday at your home or office, then let’s check out in this post how to make Jeera Matar Rice. This recipe is so easy, yet so flavorful. It is simply cumin seeds and piece tempered in olive oil (or ghee, depending on your preference) and infused into steamed rice. The perfect accompaniment to Indian dal or even just some steamed greens and veggies.


Ingredients for JEERA MATAR RICE / CUMIN PEAS RICE :
2 cups cooked rice
2 tsp Cumin seeds / Jeera
1/2 cup frozen Matar
2 tbsp olive oil
Salt: as per taste
To prepare JEERA MATAR RICE / CUMIN PEAS RICE :
1. Boil the rice with a little salt and 1 tsp oil, till each grain is separate and almost cooked. Be careful not to overcook the rice. Drain excess water and allow it to cool completely. I cooked rice on the previous day and refrigerated it overnight. This really helps in making a good Jeera Matar rice / Cumin Peas rice which is not sticky.
2. Heat 2 tbsp of oil in a pan and add Cumin seeds / Jeera and saute until it urns to golden brown colour.
3. Add Matar and salt saute for a wile once mutter cooked add the cooked rice and mix gently.
4.The Jeera Matar Rice is ready to serve.
Health Benefits :
Health Benefits of Jeera/Cumin seeds :
1. Iron for Energy and Immune Function
2. Seeds of Good Digestion
3. Cancer Prevention
Health Benefits of Peas/Matar:
1. Antioxidant and Anti-Inflammatory Benefits
2. Support for Blood Sugar Regulation
3. Heart Health Promotion
4. Protection Against Stomach Cancer
So try this recipe and write back to us…We love to hear from you.
Get this Related Posts Widget
Chicken Curry with Channa Dal
Chicken Curry prepared with Channa dal is really a non vegetarian delight which I've learnt from Sanjay recipes from VareVah... Here's the method how to prepare it.


Ingredients for Chicken Curry with Channa Dal :
500 grams chicken
150 grams channa dal
2 tsp Shajeera
150 grams channa dal
2 tsp Shajeera
1 tbsp oil
4 cloves
4 small cinnamon stiks
4 Green Cardamom
2 onions chopped nicely
1 tbsp ginger garlic and Coriander leaves paste
2 pinch turmeric
2 pinch turmeric
1 1/2 tsp chilli powder
1 1/2 tsp coriander powder
1 1/2 tsp coriander powder
1 tbsp coconut powder
Water as needed
Water as needed
Salt as per taste
To prepare Chicken Curry with Channa Dal :
1. Cook channa dal till it is 70% cooked and keep it aside.
2. Take a pressure cooker add oil, Whole garam masala and saute till aroma comes from garam masala.
3. Add chopped onion, salt. cook till onions are slightly golden brown, then add ginger garlic paste, turmeric, chicken and mix well.
4. Now add chilli powder, coriander powder, coconut powder, water mix well and close with lid cook for 3 to 4 vishals or till meat gets tender.
5. Once the meat is tender add cooked channa dal and cook for another 10 min then add garam masala powder (optional), coriander leaves. Chicken Curry with Channa Dal is ready to serve. Serve it with Chapati, roti, Steamed Rice or even with Dosa.
Health Benefits :
1. Chana dal is extremely delicious in taste, full of nutritious and can be digested easily.
2. Coarsely crushed chana dal increases the nutritional value, which is ultimately beneficial for the health.
3. Chana dal is low in fat and high in fiber and considered as polyunsaturated.
4. Bengal gram flour is an excellent source of calcium, proteins, folate and zinc in human body.
5. It helps in lowering cholesterol.
6. It is beneficial for the diabetics because of its unique properties and low glycemic index.
7. Chickens are low in fat and calories and high in protein, which makes it ideal for weight maintenance. Not to mention that this bird is jam-packed full of essential nutrients and vitamins.
So try this recipe and write back to us…We love to hear from you.
Get this Related Posts Widget
Subscribe to:
Posts (Atom)